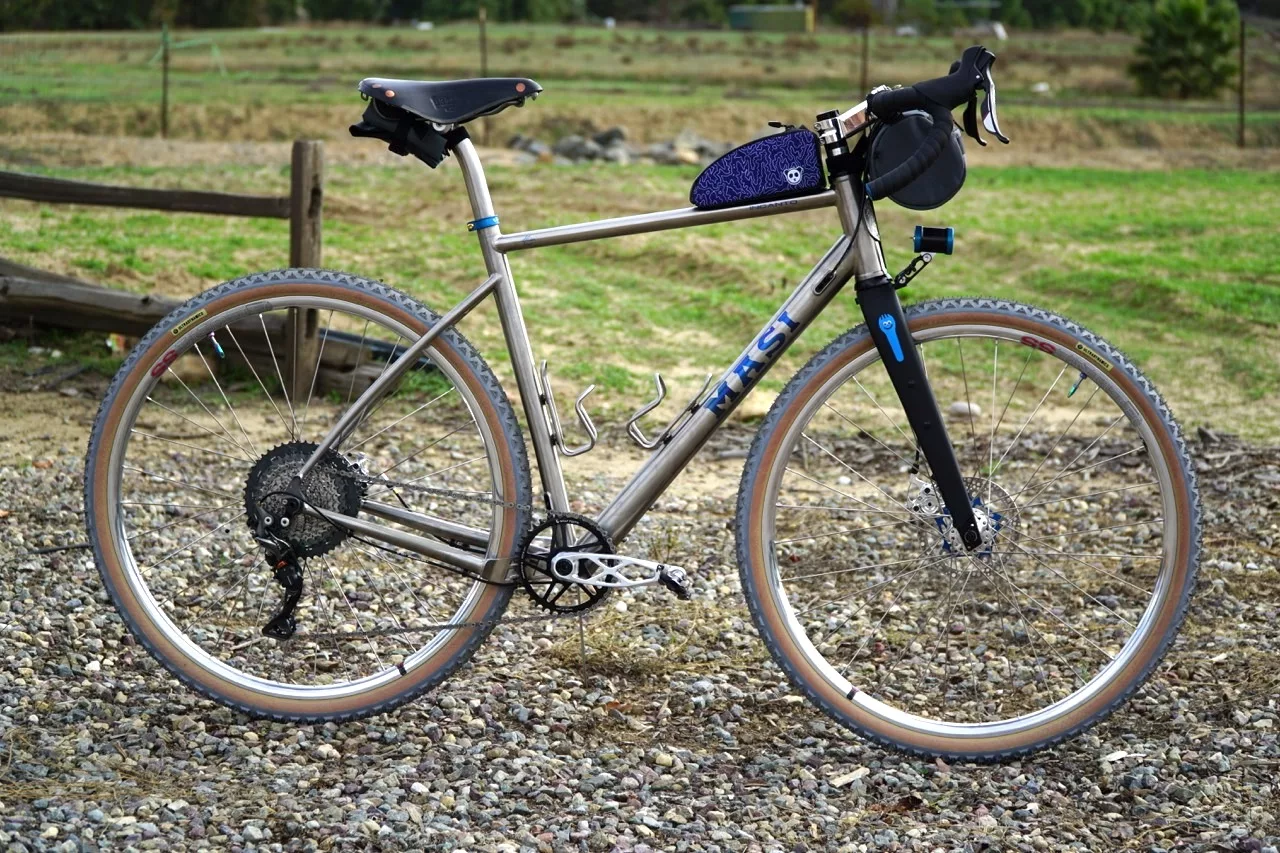
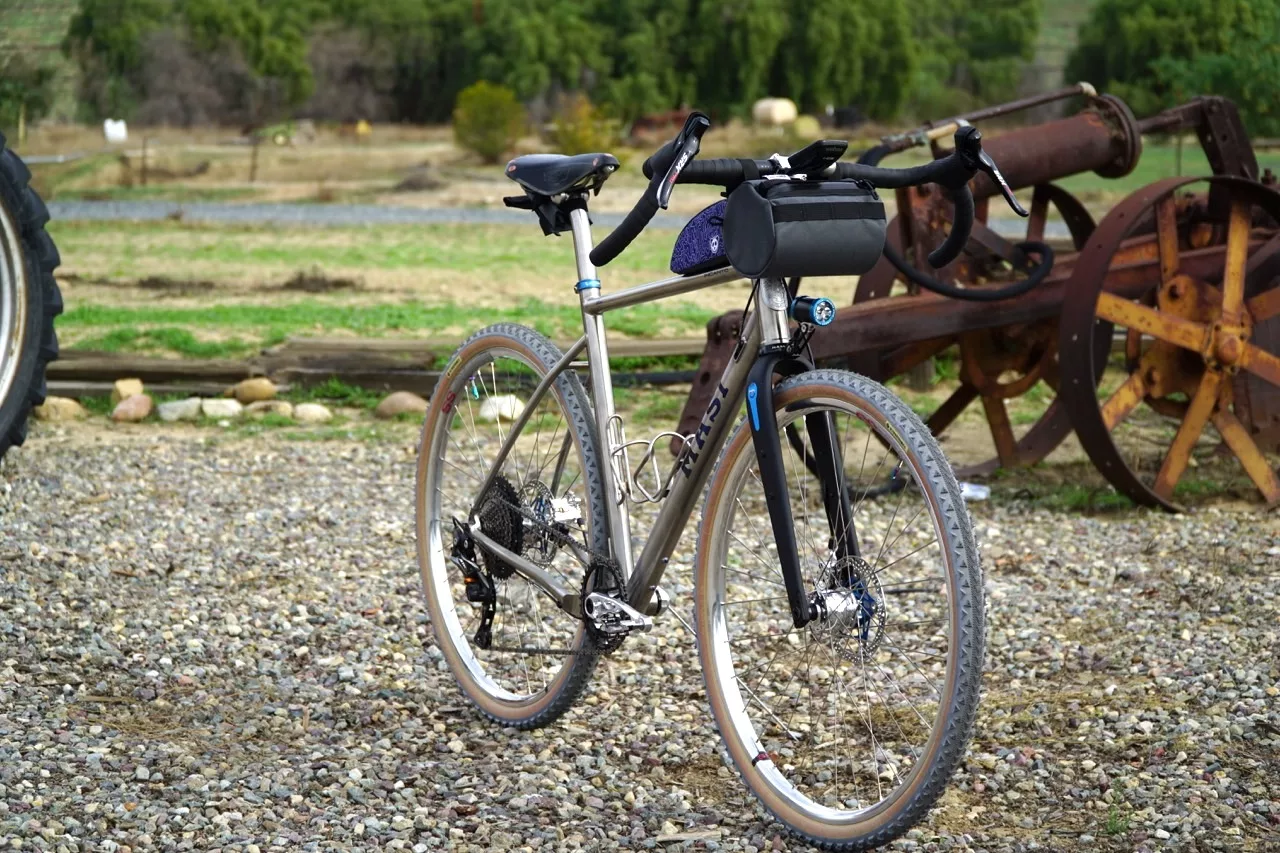
Well, here we are, the Masi Bicycles Incanto Ti dream build is finished and ready to ride. Not sure if you remember, but back in late September, I had an idea to start a dream-build project. As a Brand Ambassador for Masi Bicycles, I reached out and requested the new Incanto Ti frameset to use as the platform for this build.
The Incanto Ti is Masi’s titanium gravel/allroad offering. The bike comes complete with a full Campy Ekar groupset, or as a frameset with a carbon Brunello gravel fork, headset, seat collar, and titanium seat post. The frameset proved to be the perfect canvas to “paint” my masterpiece of a “dream build”. And lucky you, you get to read about it here on Bikerumor.
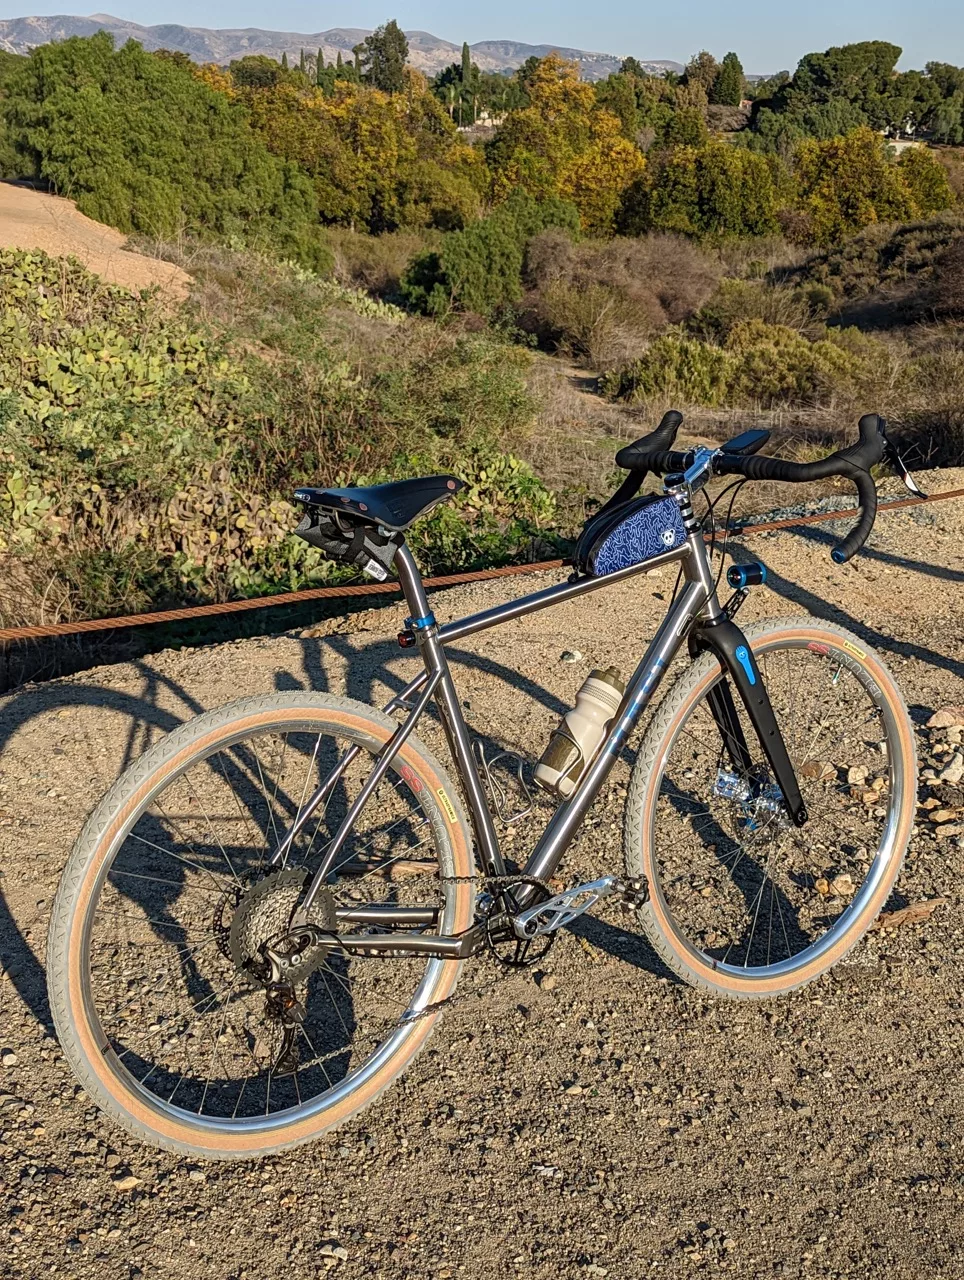
The idea for the dream build was to use some componentry that might not be considered by most when doing a build like this…like, say mechanical brakes and a mullet drive train. And then ride it and review the parts in this application.
For the last couple o’ months, I reached out to brands to participate in the build and accumulated some awesome parts from some great brands. I think it turned out amazing!
The build has been done for a few days, and I’ve already squeaked out roughly 55+ miles on it so far… it rides great!
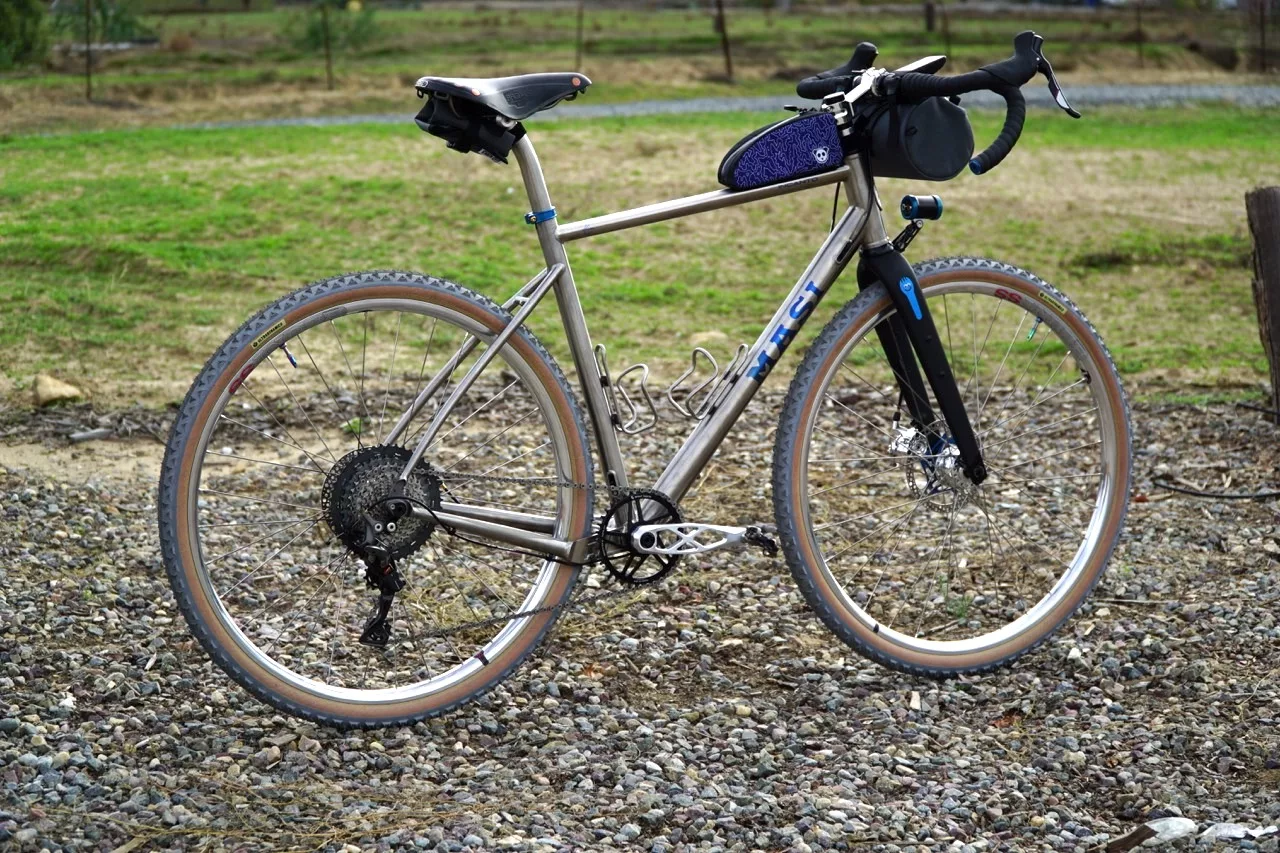
The Plan
I had a plan. And some criteria I wanted to meet. I wanted to:
- Try to keep the complete bike (with pedals) under 20 lbs.
- Be able to use my favorite mechanical disc brakes.
- Build using zero carbon fiber parts (other than the fork).
- Use 700c wheels.
- Be comfortable for long days in the saddle.
- Build a gravel bike with a mullet drive train (drop bar shifters = business up front, and mountain bike gearing = party in the rear).
- Run (at least) a front dynamo light.
Well, I nailed number one! I weighed it… with pedals, the empty top tube bag, and the computer mount and it weighed in at 19.2 pounds. I was really pleased with that, considering it’s a 58cm frame, but I then realized that I left the tool roll on the bike when I weighed it, so now I’m really stoked!
The tool roll had a CO2 cartridge, the Spurcycle Ti tool kit, A DynaPlug, and Wolf Tooth Pack Pliers. I haven’t weighed the bike again, but I am sure without the tool roll mounted, it’ll drop slightly below the 19 pounds mark, I couldn’t ask for more as the finished weight exceeds any/all of my expectations.
Let’s go over the parts list.
The Parts
I decided that I am just going to be touching on the parts used for the build here, showing you how they look on the finished product. I will be doing a deep dive into all of these components as I ride and review them all.
OK, let’s get started!
The Cockpit

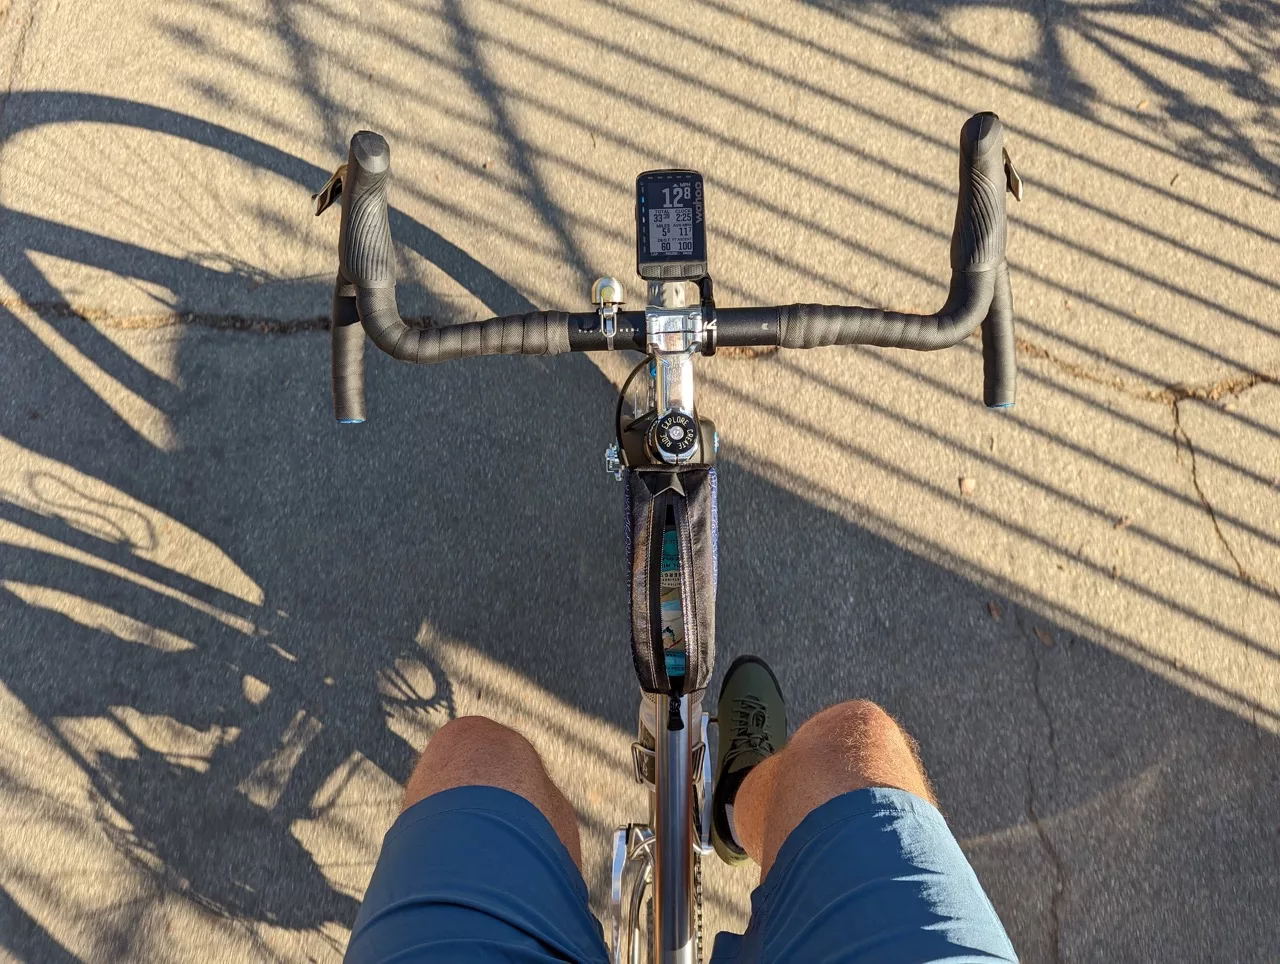
- In this case, the cockpit consists of the stem, bars and tape, and headset.
- Stem: Paul Components, polished Boxcar Stem in 90mm x 15-degree rise
- Bars: Curve Cycling, Walmer Bar, 500mm in width
- Bar tape: Curve Cycling Walmer Bar Tape in black XL size (comes with the bars)
- Headset: Masi Bicycles house branded Token sealed bearing (comes with Incanto frameset)
The Fork
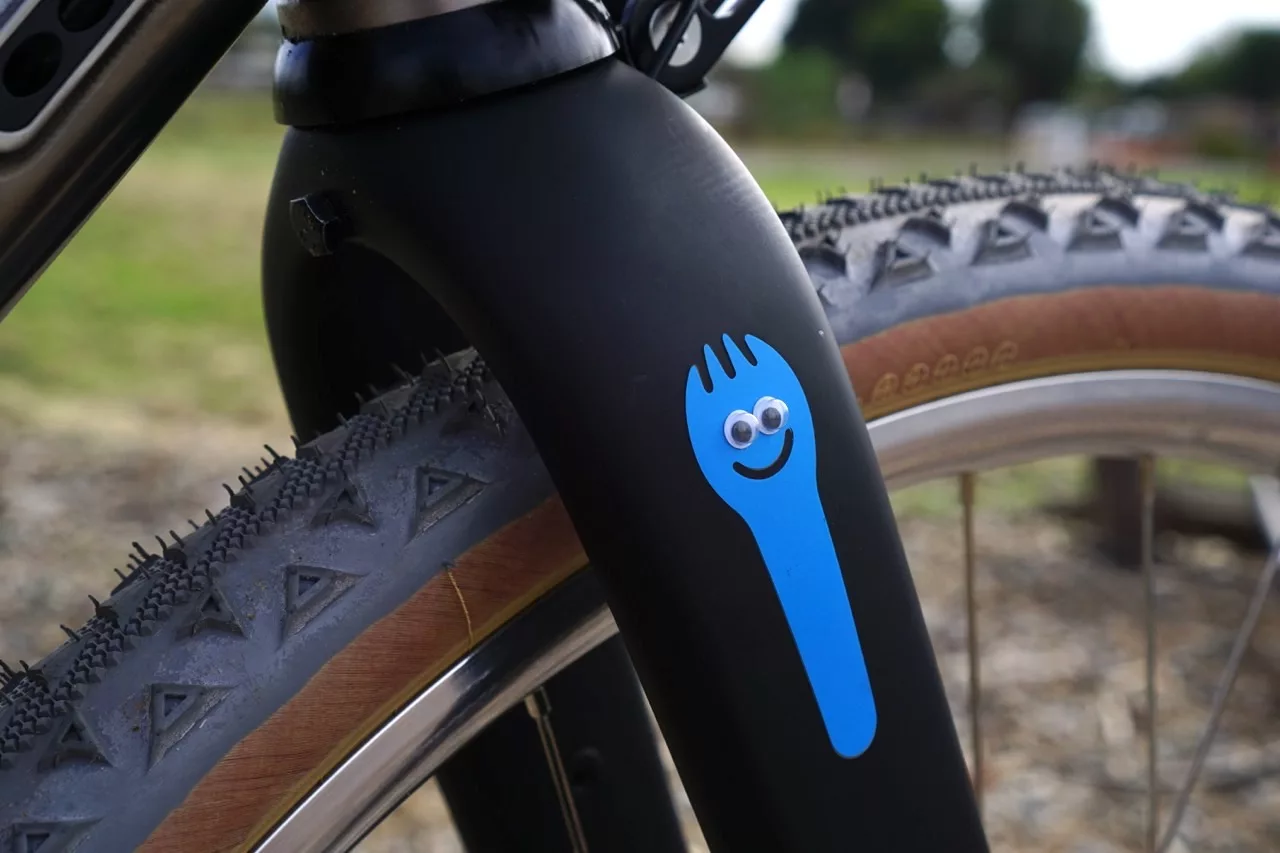
The Masi Incanto Frameset comes with the Masi Brunello gravel fork, and there were zero issues with that fork. But I opted to run the new Rodeo Labs Spork 3.0 in its stead. The reasons for the swap? That, I will dive into during the review of the new Spork 3.0.
The Shift/brake levers
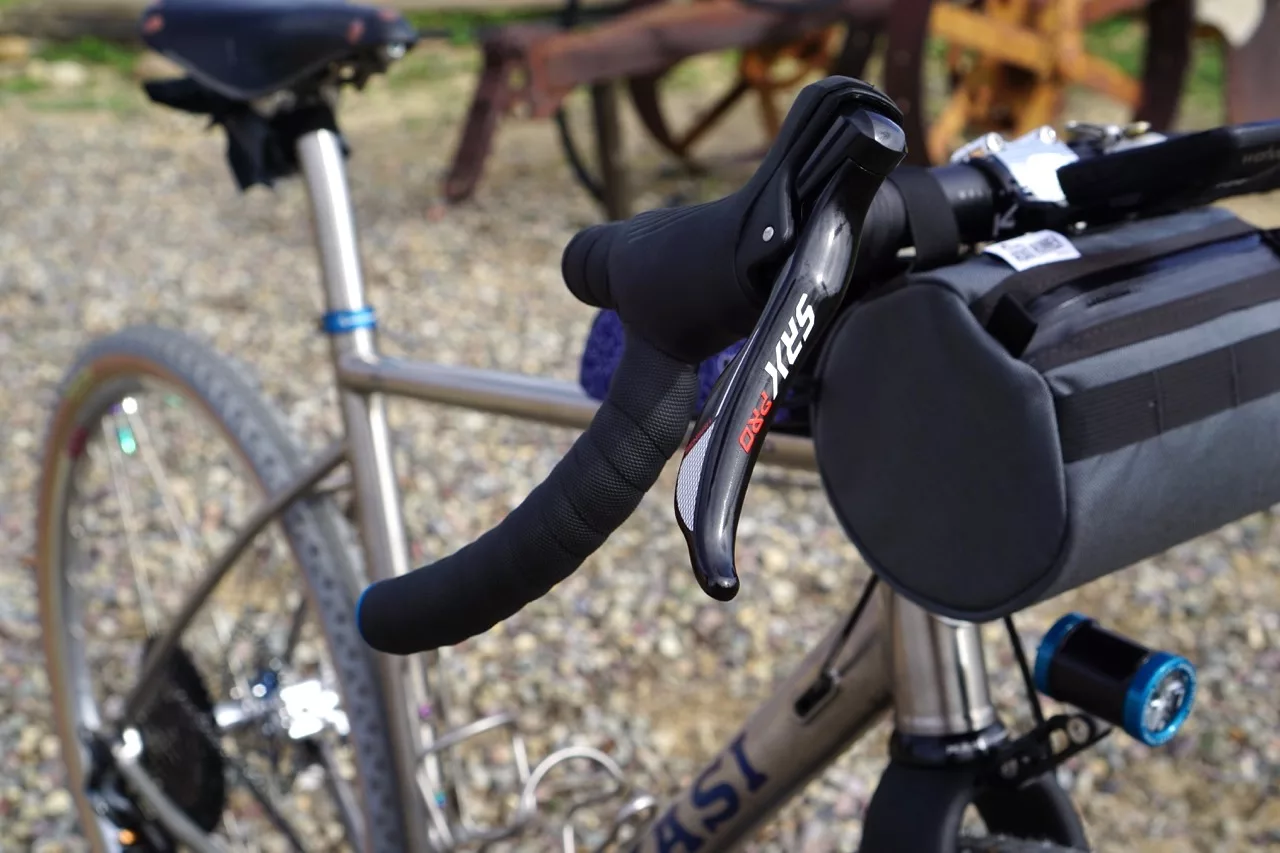
Velo Orange sent over the Sensah SRX Pro 1×11 shift/brake levers. They meet the required criteria that I set… they work with mechanical disc brakes and pull cable for 11-speed Shimano mountain bike rear derailleurs. In the words of the late, great Stan Lee, ‘Nuff said.
The Wheelset

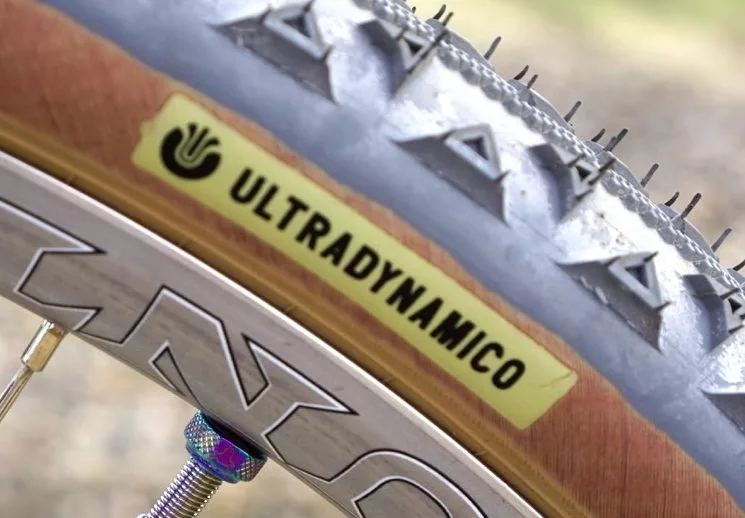
The wheels for this build were custom-built by Sugar Wheel Works out of Portland, Oregon.
The build spec:
- Front hub: SON 28 Dynamo Disc Hub
- Rear hub: Velo Orange Disc Rear Hub
- Rims: Velocity Blunt SS, Polished
- Spokes: Sapim CX-Ray
- Nipples: Sapim
The Crankset
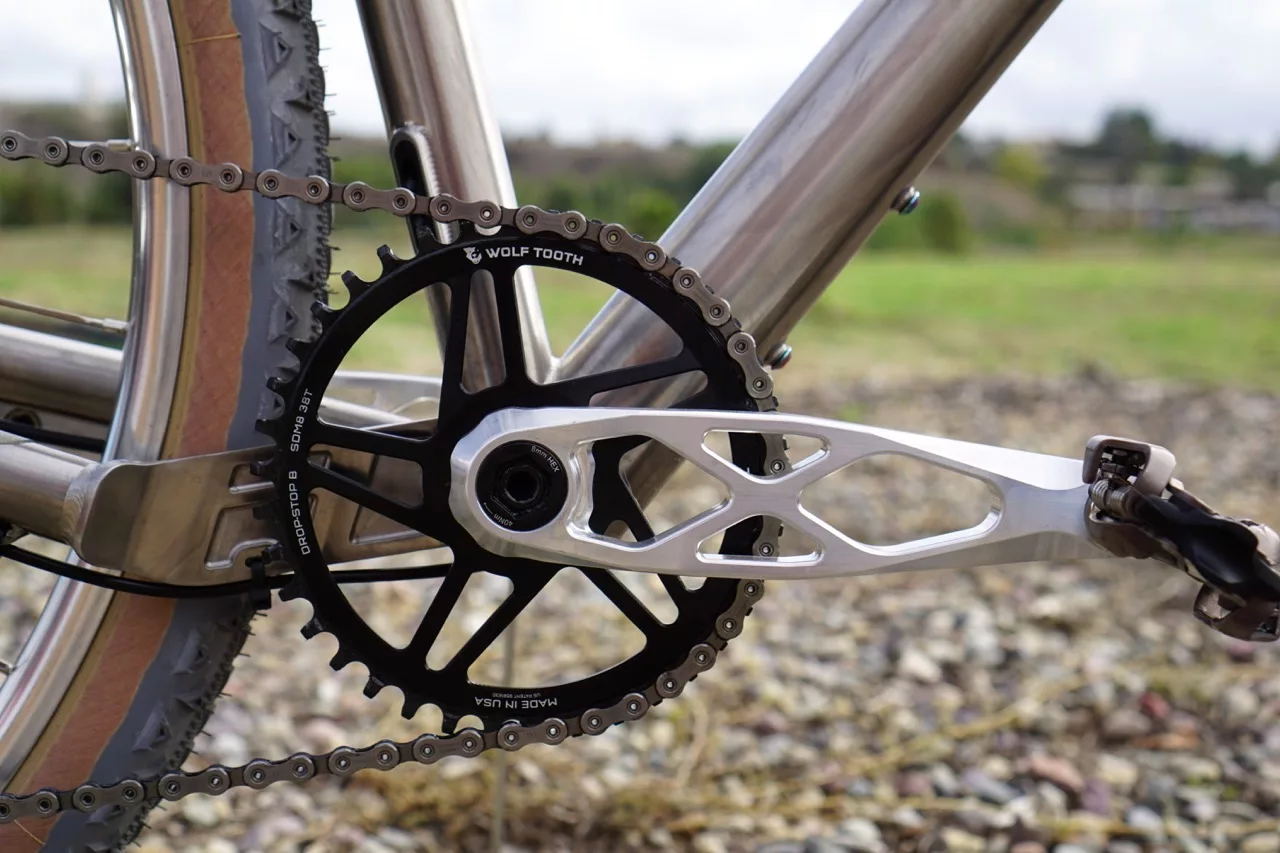
Located in San Diego, 5DEV was only an hour or so away from where I am located. So, after talking to Will Talbott we decided it would be cool to drive down and watch these prototype Gravel Cranks get cut on the CNC machine for me while I waited. These cranks use the SRAM 8-bolt mounting and weigh in at 20-30 grams lighter than their Trail/Enduro cranks.
Pedals
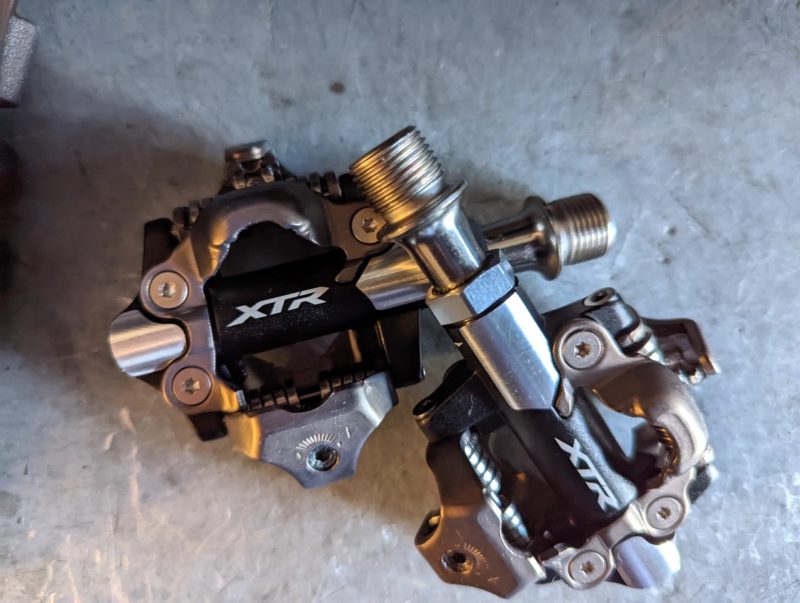
I chose the Shimano XTR pedals because, in my opinion, they are the best pedals out there. I still use the Shimano PD747 on my mountain bike and they are 20 years old with zero sign of quitting. The new XTR pedals have good mud clearance, are lightweight and look to be just as bombproof as they’ve always been.
To me, there was only one pedal choice for this build.
The Bottom Bracket
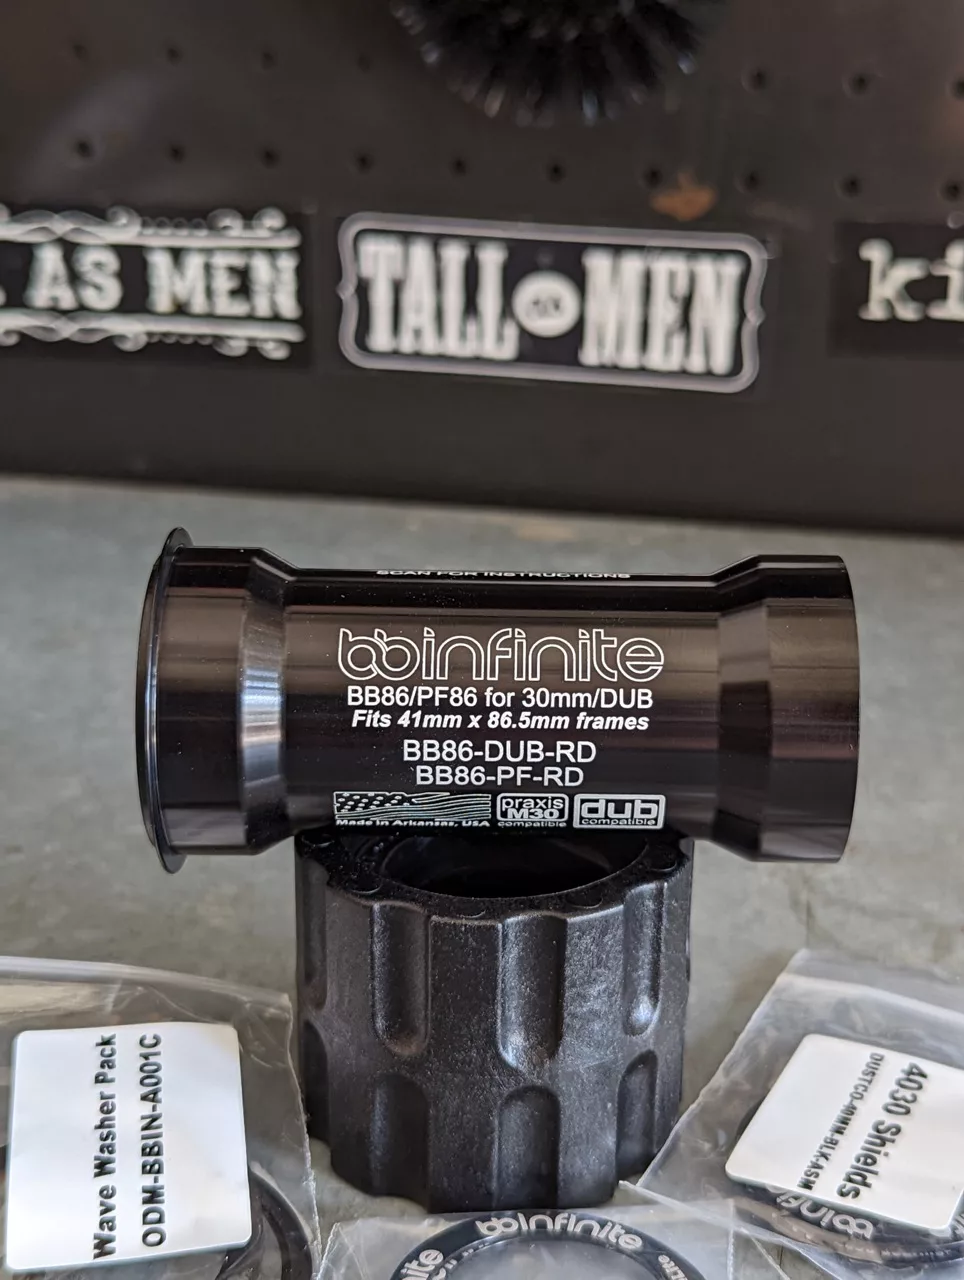
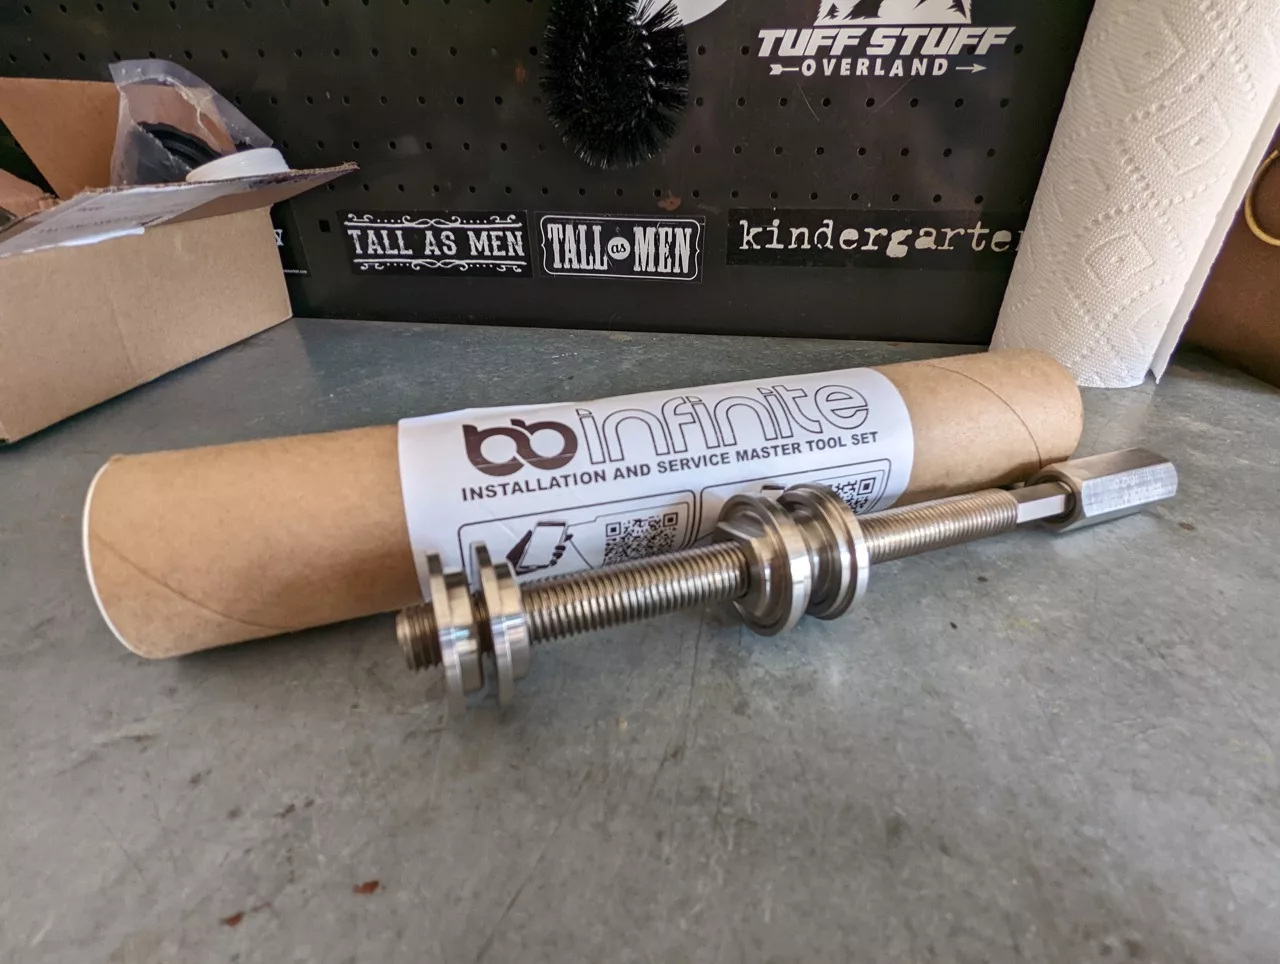
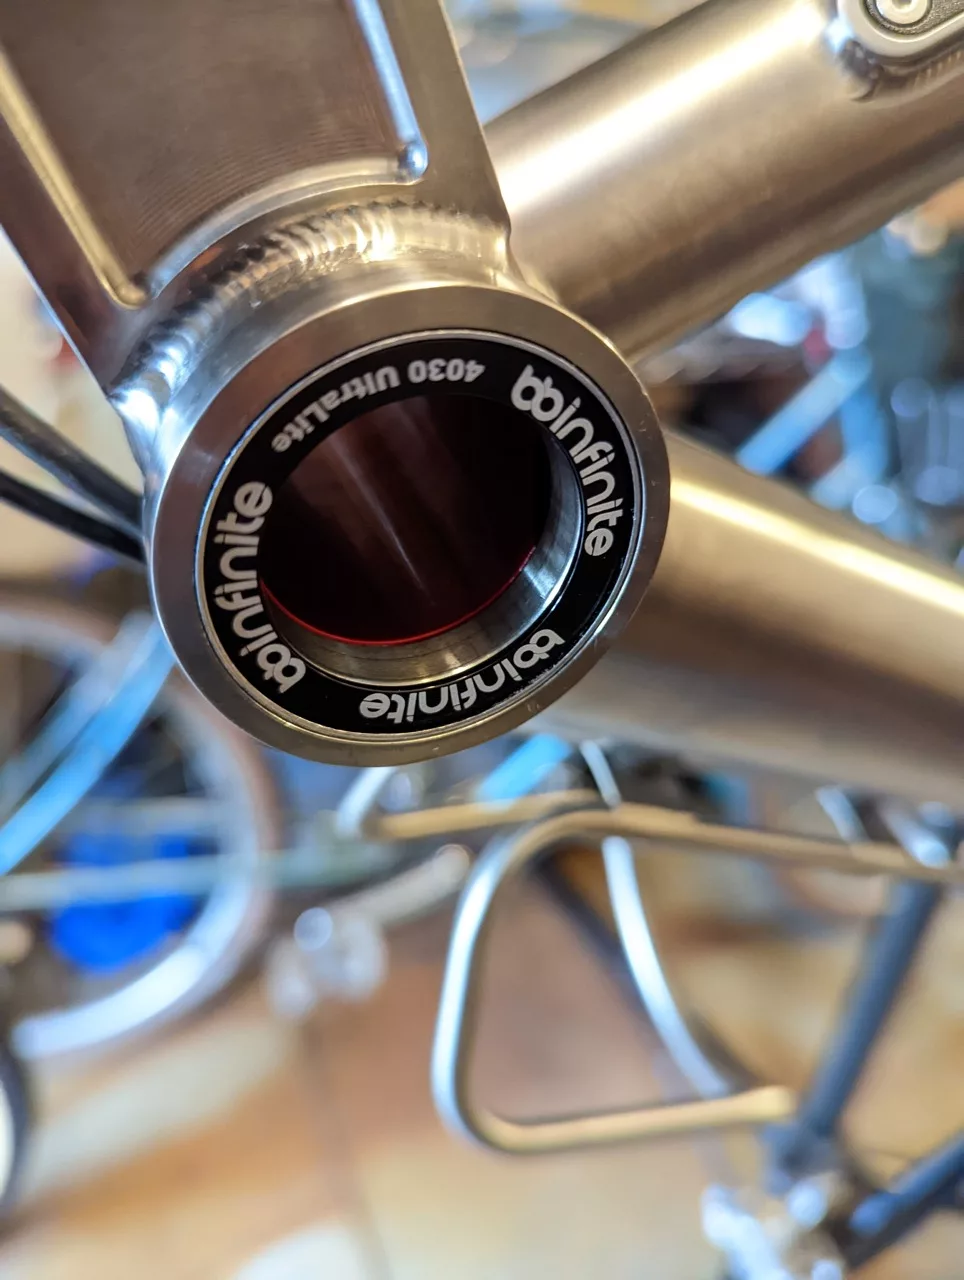
The BBInfinite BB86-PF-RD bottom bracket is a one-piece aluminum-bodied bottom bracket. I had never installed a press fit BB86 bottom bracket before. Press fitting the aluminum into a titanium shell was a bit daunting, but they sent along their Master Tool Set. That, with great instructions, made it pretty easy. And the cranks spin like buttah!
The Chainring
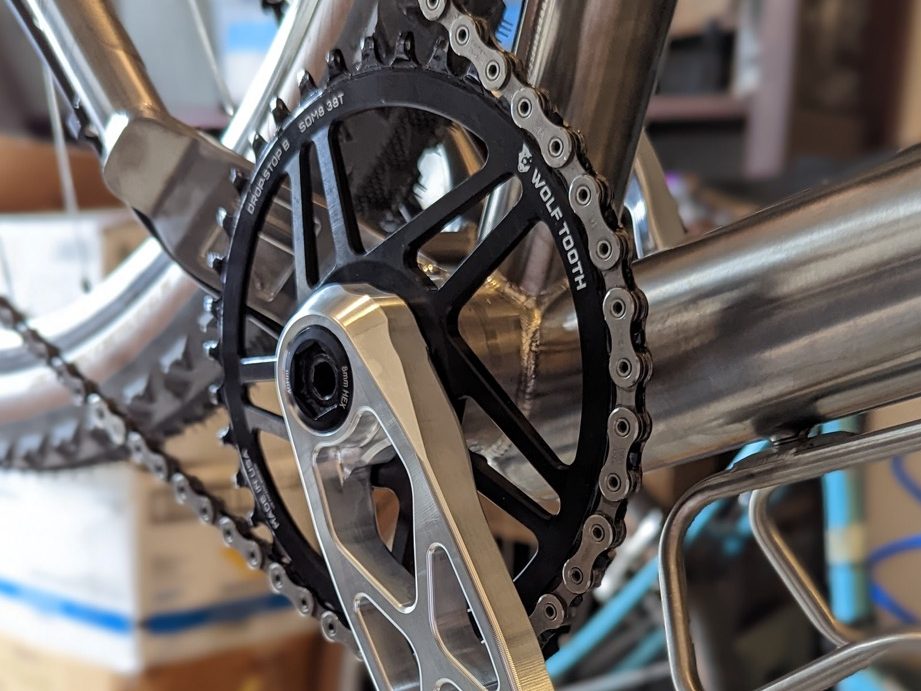
The Wolf Tooth 38t chainring (pictured above) is the round version. I just swapped it for the same size but with their Power Trac Elliptical 10% ovalized chainring, pictured in the first and last photo in this article.
The Rear Cassette
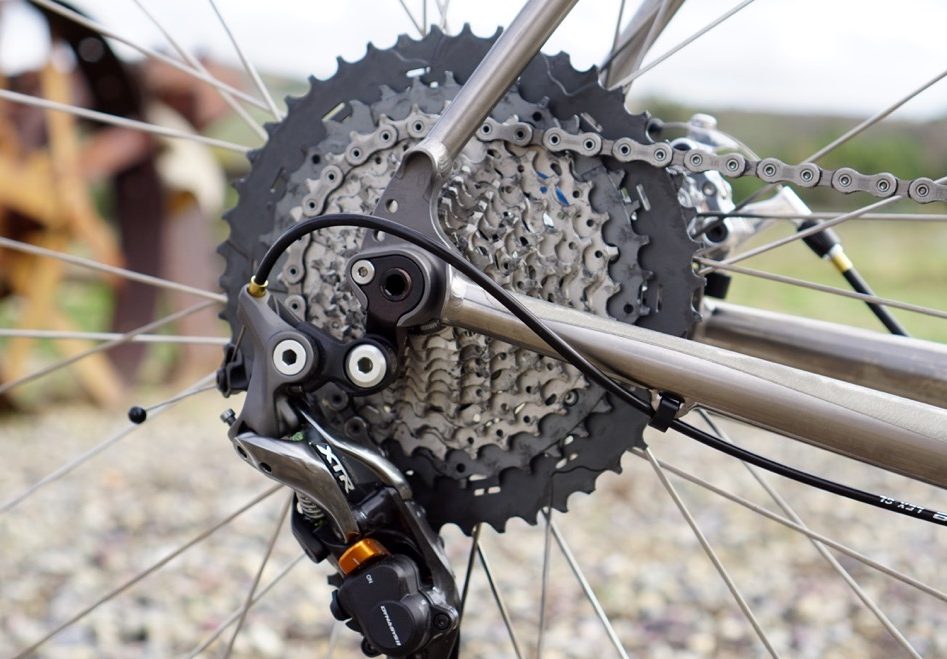
In keeping in line with goal number 6 of this build, I chose to run full mountain bike gearing for this build, and in my experience (I’ve been running these on my mountain bikes for a few years), there is no beating the good ol’ Shimano 11-46 XT M8000 cassette.
I will say, that for some reason, I am not liking the 9-tooth jump from the 37t to the 46t. It’s a non-issue on my mountain bike. But, it might be too much for this bike. I might switch to an equivalent cassette that has a more even step to the bailout gear. I might even just run the 11-42 XT M8000 cassette, and call it a day.
The Rear Derailleur
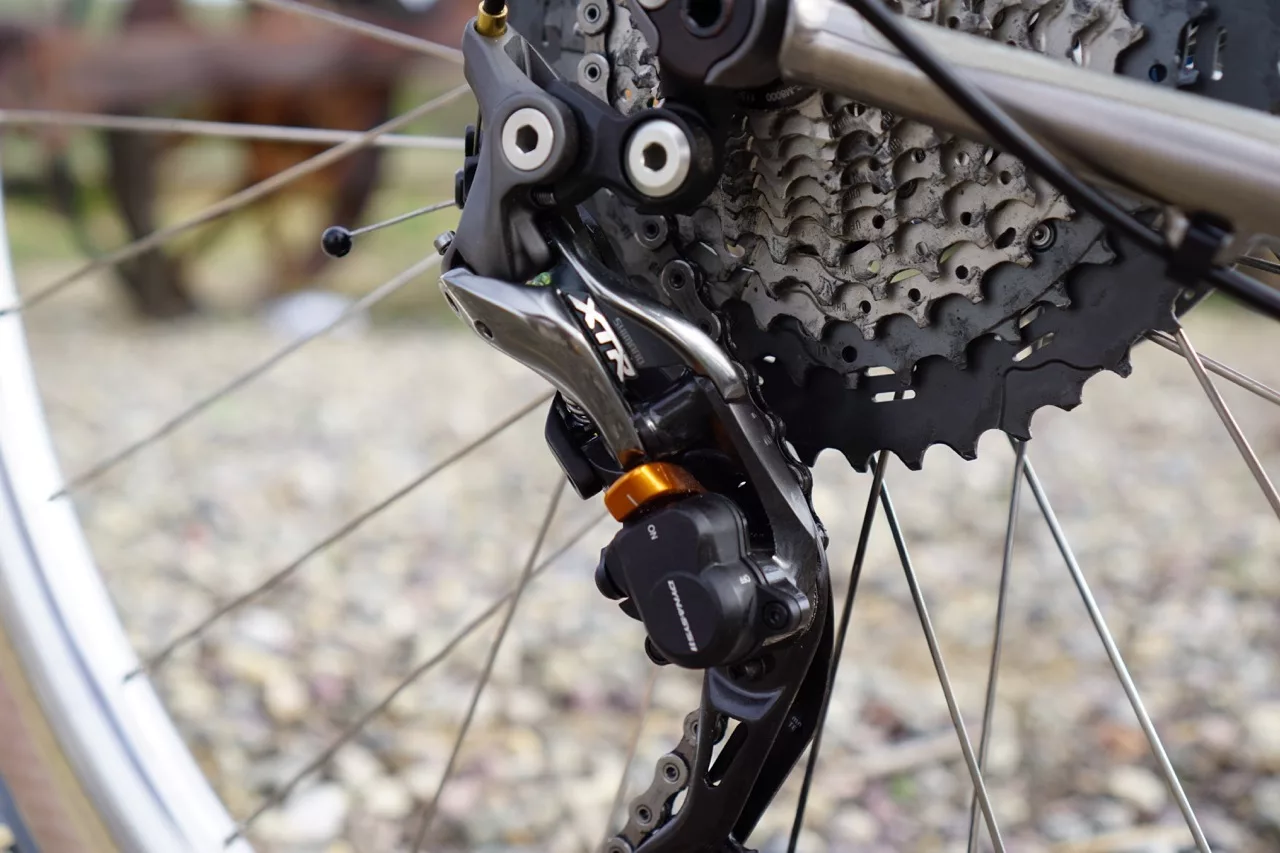
Still staying with goal number 6, I chose the iconic Shimano XTR M9000, medium cage, rear derailleur. The Sensah SRX Pro shifters move it up and down the cassette without issue. I won’t be racing the bike, but keeping in line with goal number 1, I was pinching grams, and at 222 grams, the XTR fits the bill and was notably feathery in my hand.
The Brake rotors
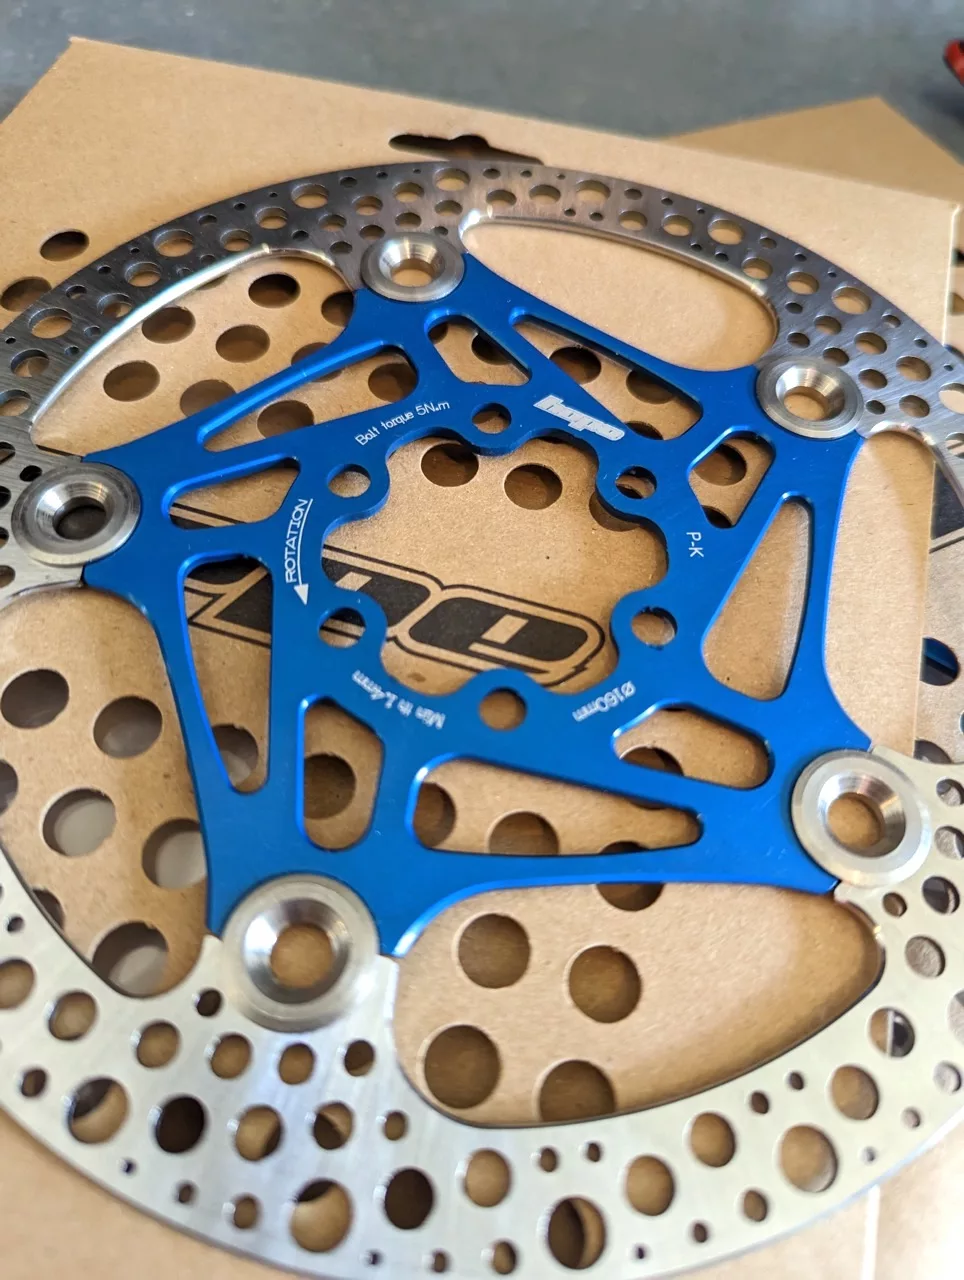
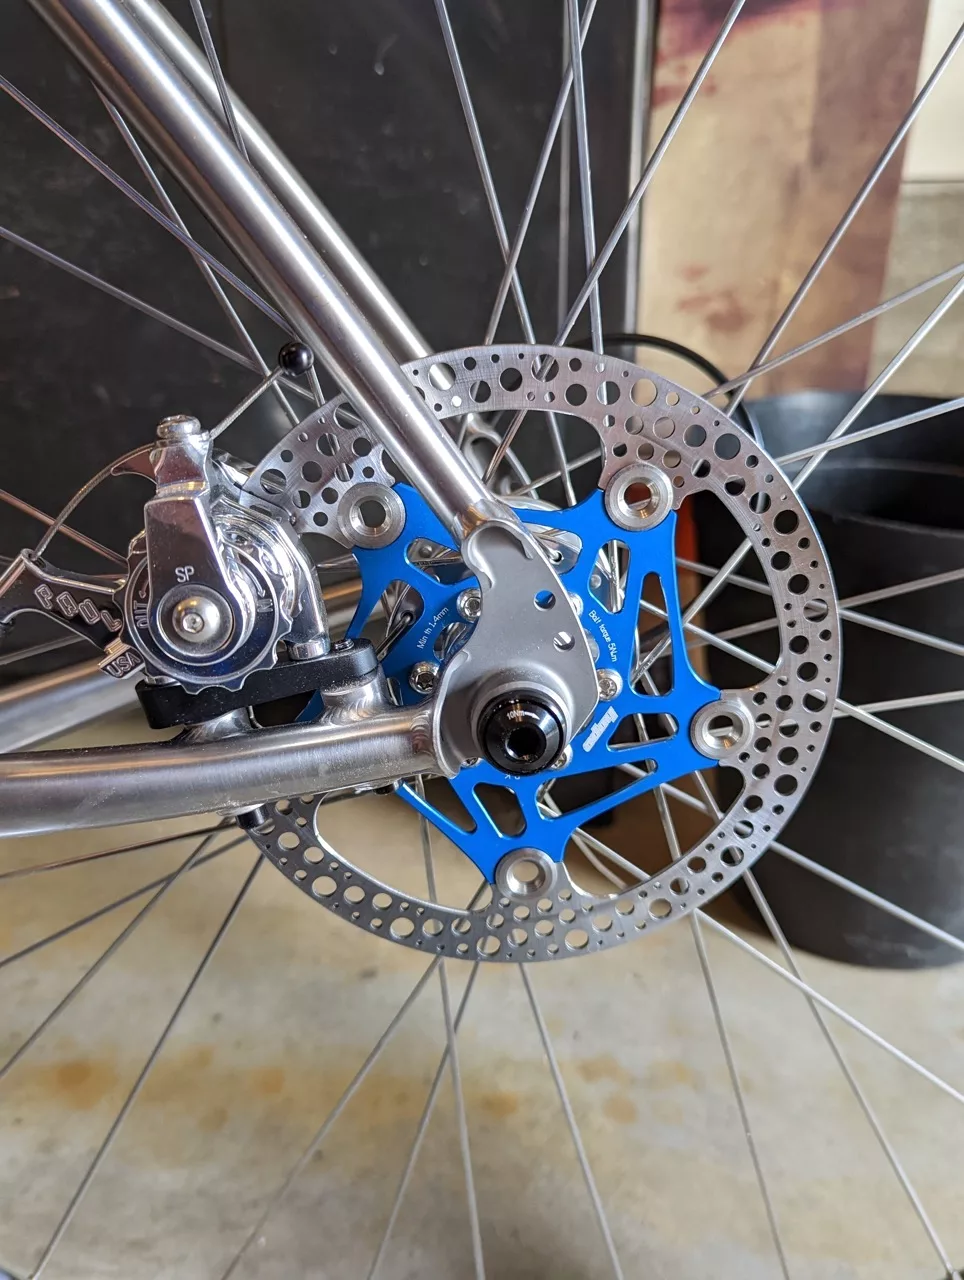
Adding an additional splash of blue highlights down at the hub area, I chose to use the Hope Technology Road 6-Bolt floating rotors. 160mm on both front and rear. I was a little worried as I had heard clearance on the Klampers might be an issue with the rivets contacting the brake’s body. But, Travis at Paul said that may’ve been an issue with super early iterations of the Paul Klampers, but they have remedied that a while back.
They look great!
The Dynamo Light
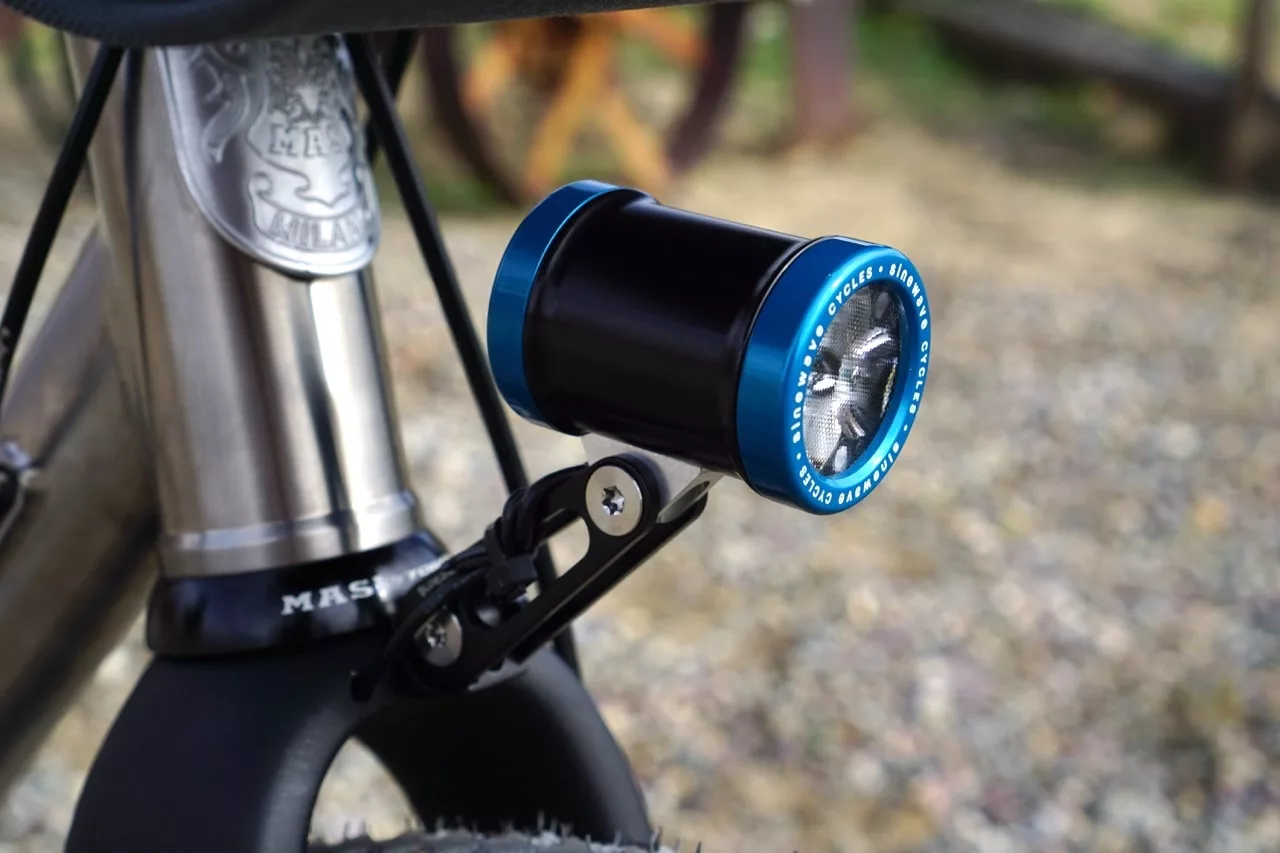
To align with goal number 7, I chose the Sinewave Cycles Beacon 2 for the dynamo light. The Beacon 2 has quite a few refinements from the very popular prior-generation Beacon. I will be touching on that in my review of this little powerhouse of light.
The Tool Roll
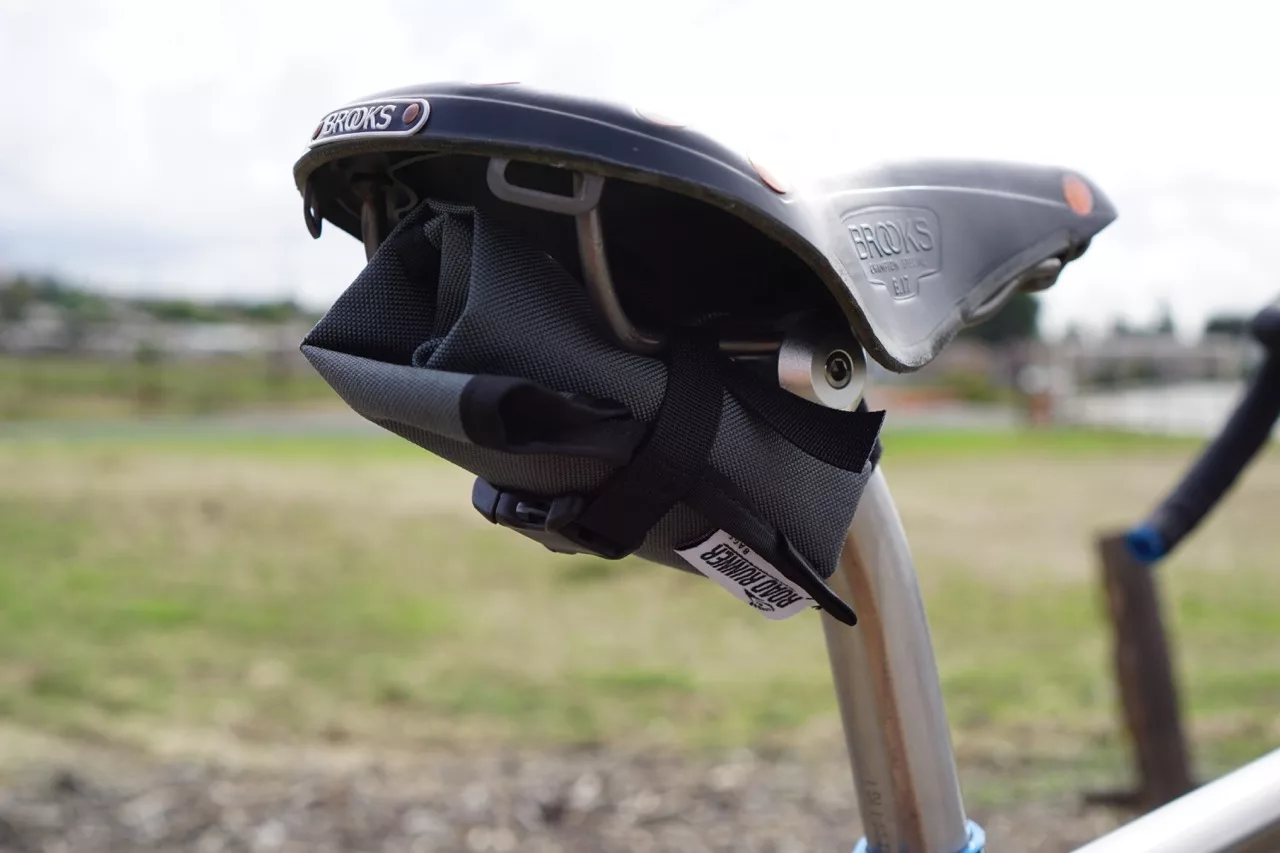
The Tool Saddle Roll was provided by Road Runner Bags out of Los Angeles. I will be covering what’s going into this tool roll in the review. I’m working out some titles for the review:
- “What’s in my Roll?”
- “Let’s put this Tool in my Roll!”
- “Rollio, Pollio”
- “This is How I Roll”
- “Roll, Roll, Roll your Roll”
The Computer Mount
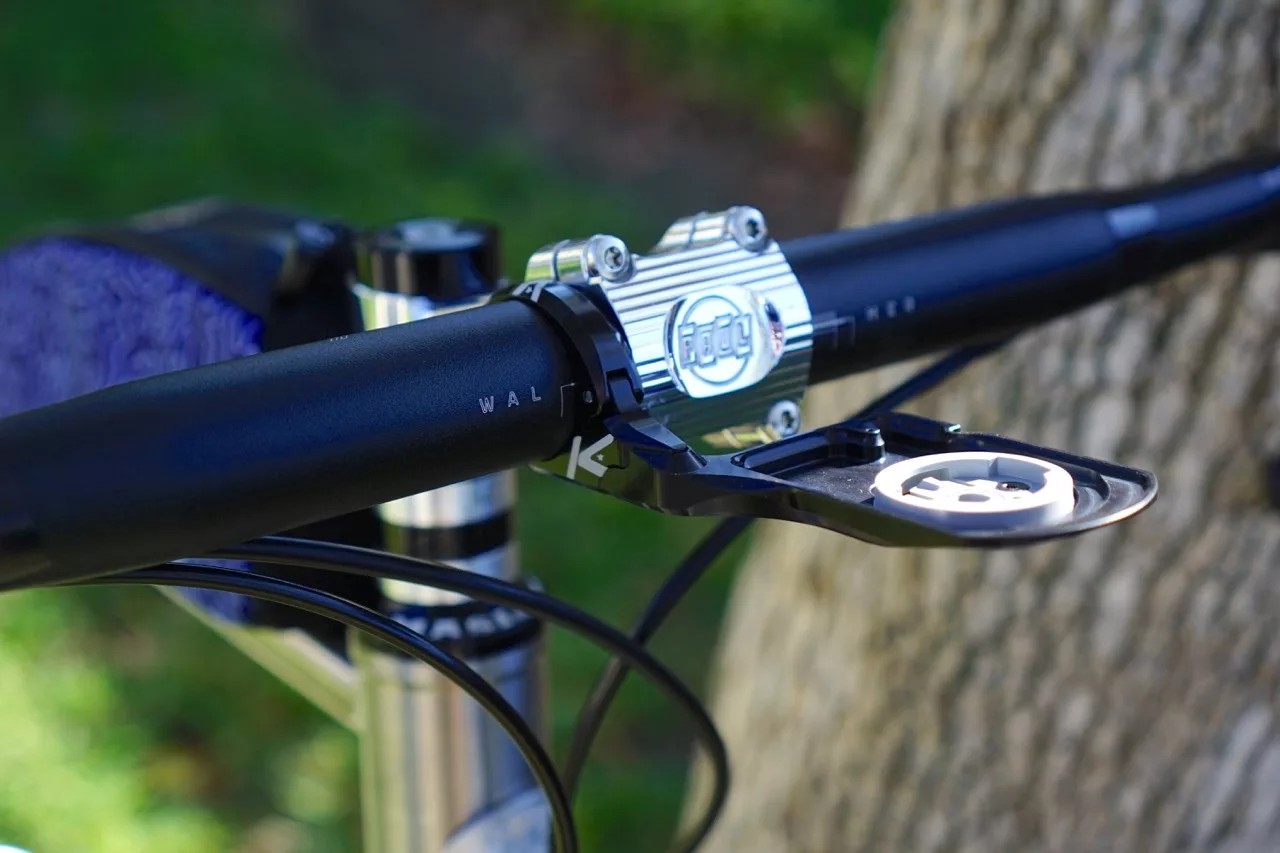
K-Edge products are CNC’d, American-made (by them), well-designed products that add a little bling to your steed where you didn’t know you needed it. So, naturally, they were the company I chose to hold my Wahoo Elemnt ROAM on this dream build. So simple, strong, classy, and elegant. I love good bike parts!
The K-Edge Wahoo Aero ROAM Mount is the perfect piece of kit that puts the Incanto’s cockpit at the next level.
The Bell
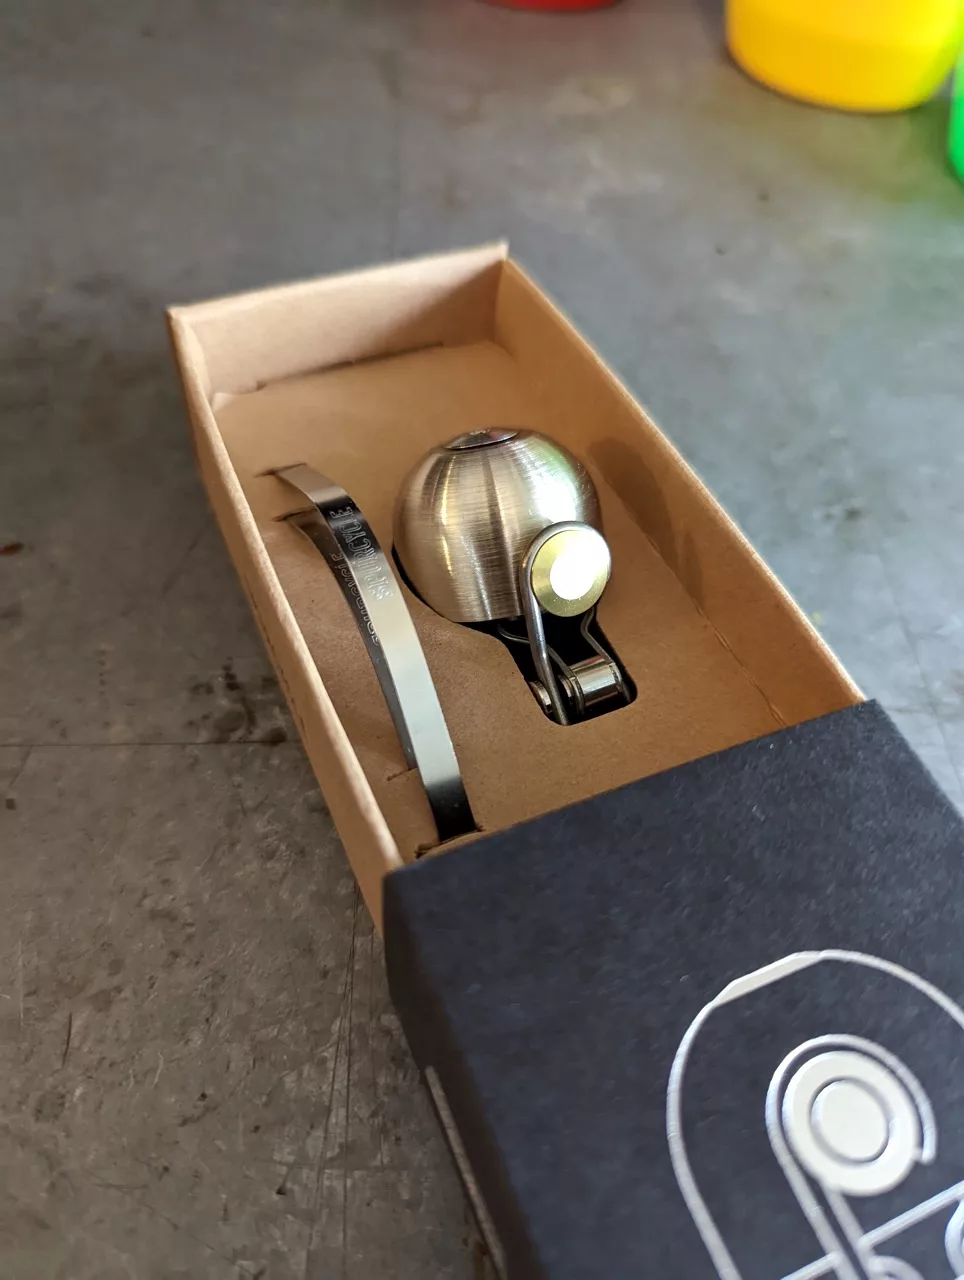
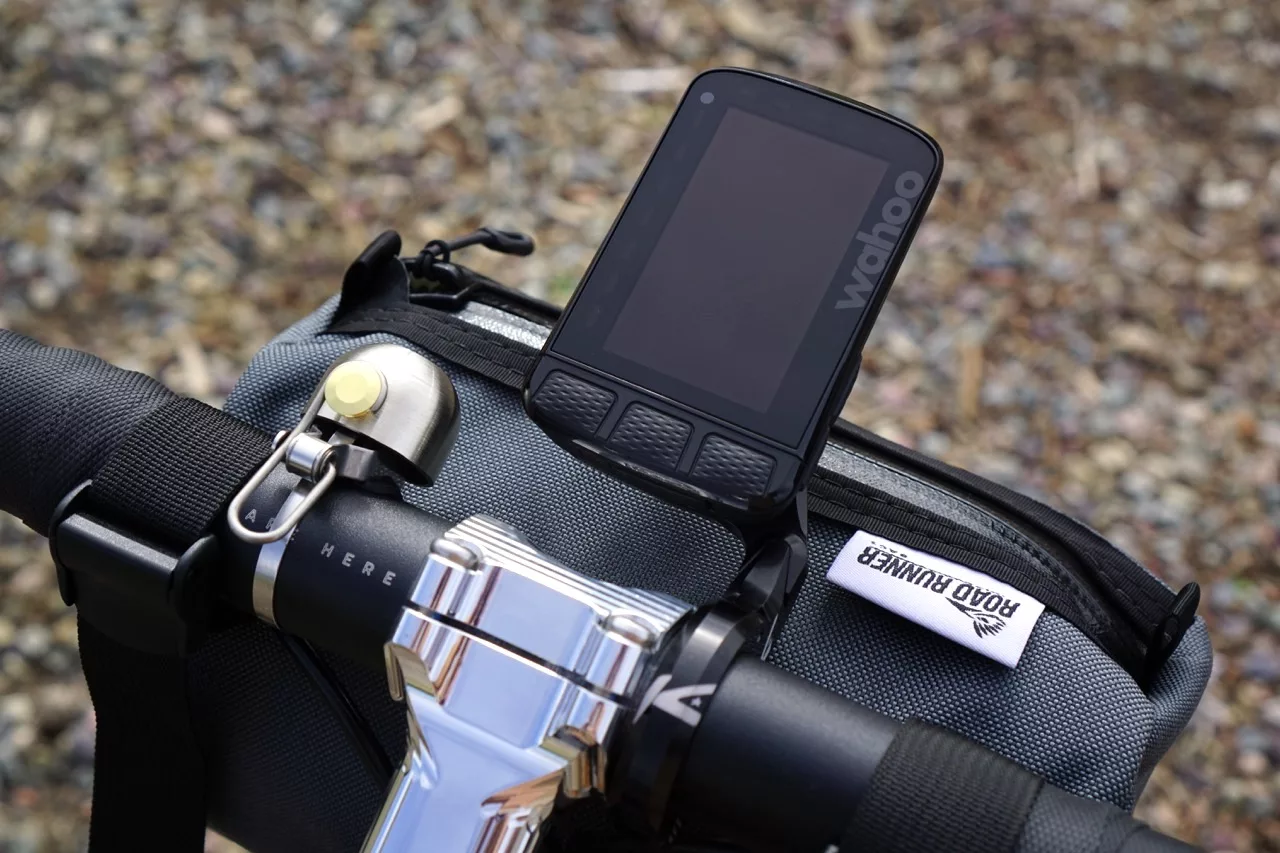
What can I say about The Spurcycle Original Bell? It’s pretty much a simple, superbly engineered, beautiful, and functional piece of art for your bicycle. It is an essential part of your cockpit, especially if you ride multi-user trails. It’s better than yelling “LEFT” at everyone. It’s not obnoxious, but instead, pleasant to the ears and loud enough to penetrate most headphones. I don’t ride my bike without one, I have one on every single one of my bikes.
It’s made in the USA and has a guarantee for life.
The Handle Bar Bag
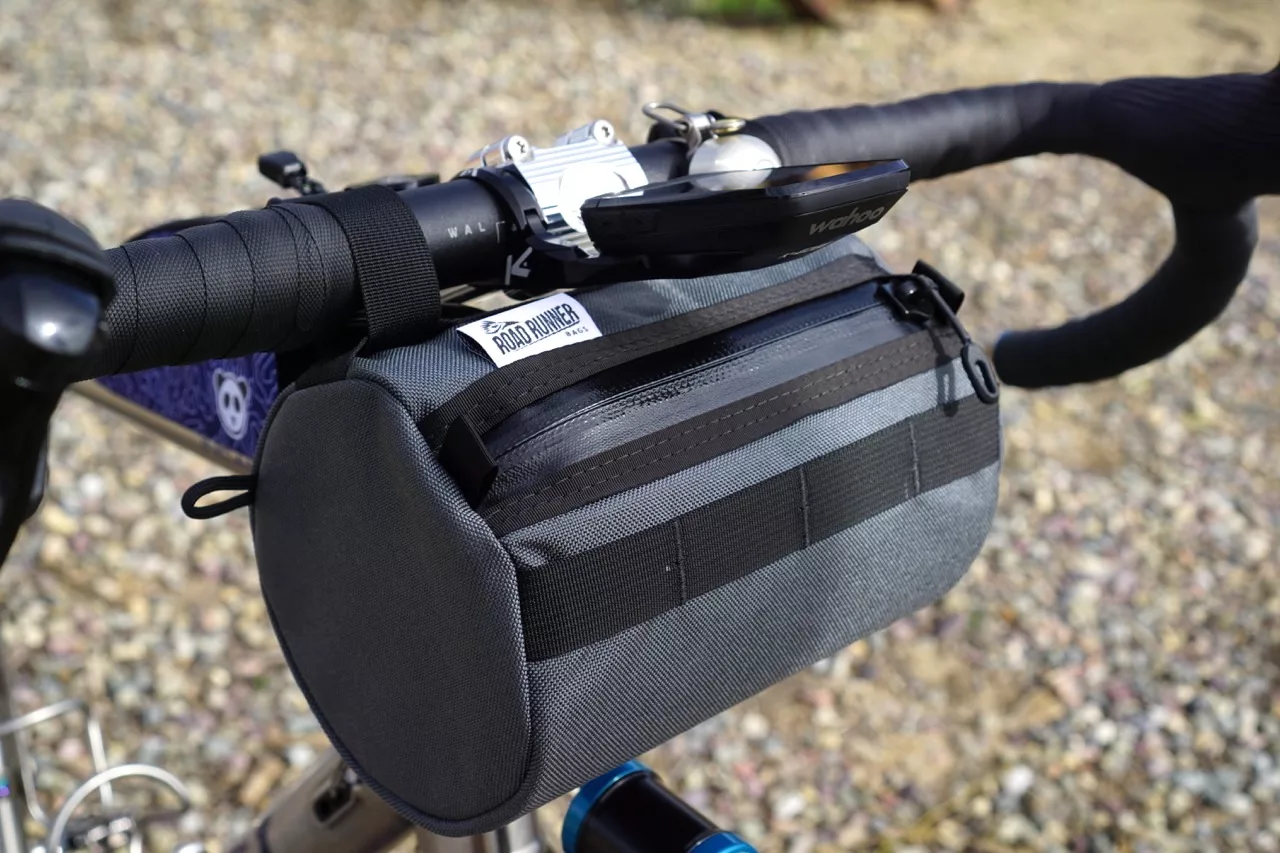
The handlebar bag is the Burrito Supreme Handlebar Bag by Road Runner Bags. I have yet to use it, but it sure looks nice on the bike, plus it is matchy-matchy with the Tool Saddle Roll.
The Tires

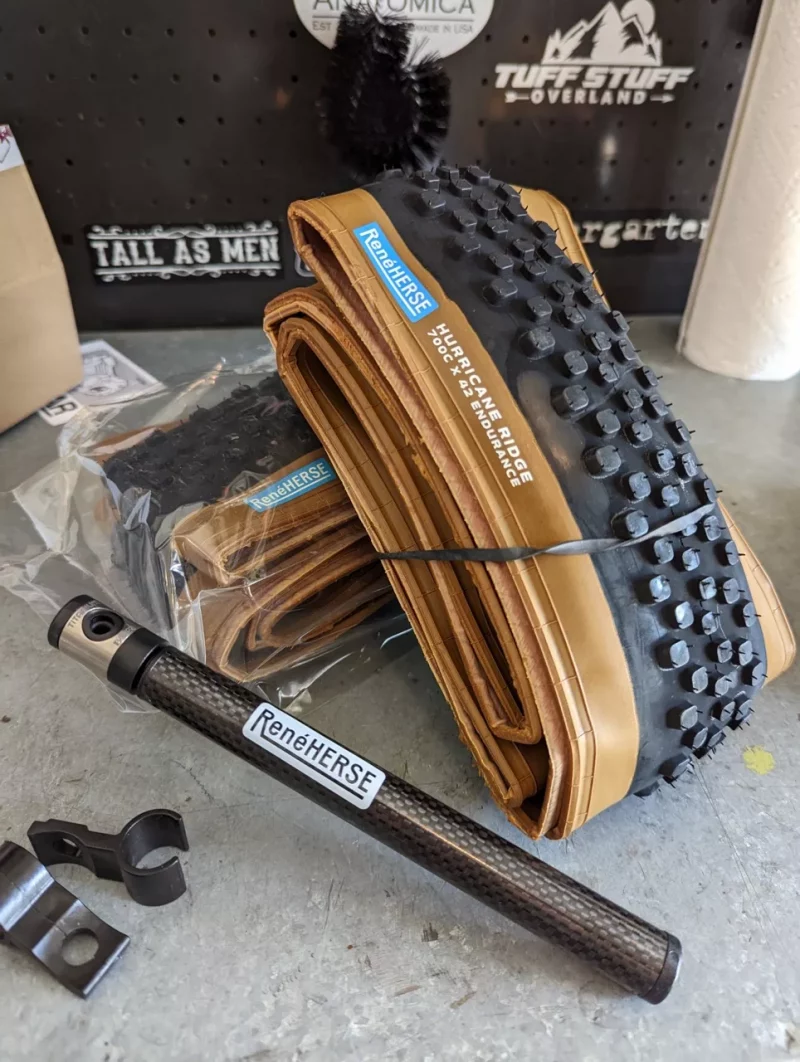
I will be reviewing and comparing two sets of tires on this bike. The Ultradynamico Rosé Race in the 700×42?? will be the first one up and mounted. So far it rides pretty well. The second is the Rene Herse Hurricane Ridge Endurance casing in 700×42. I will be swapping these in after putting a few hundy on the Ultras.
The Bottle Cages
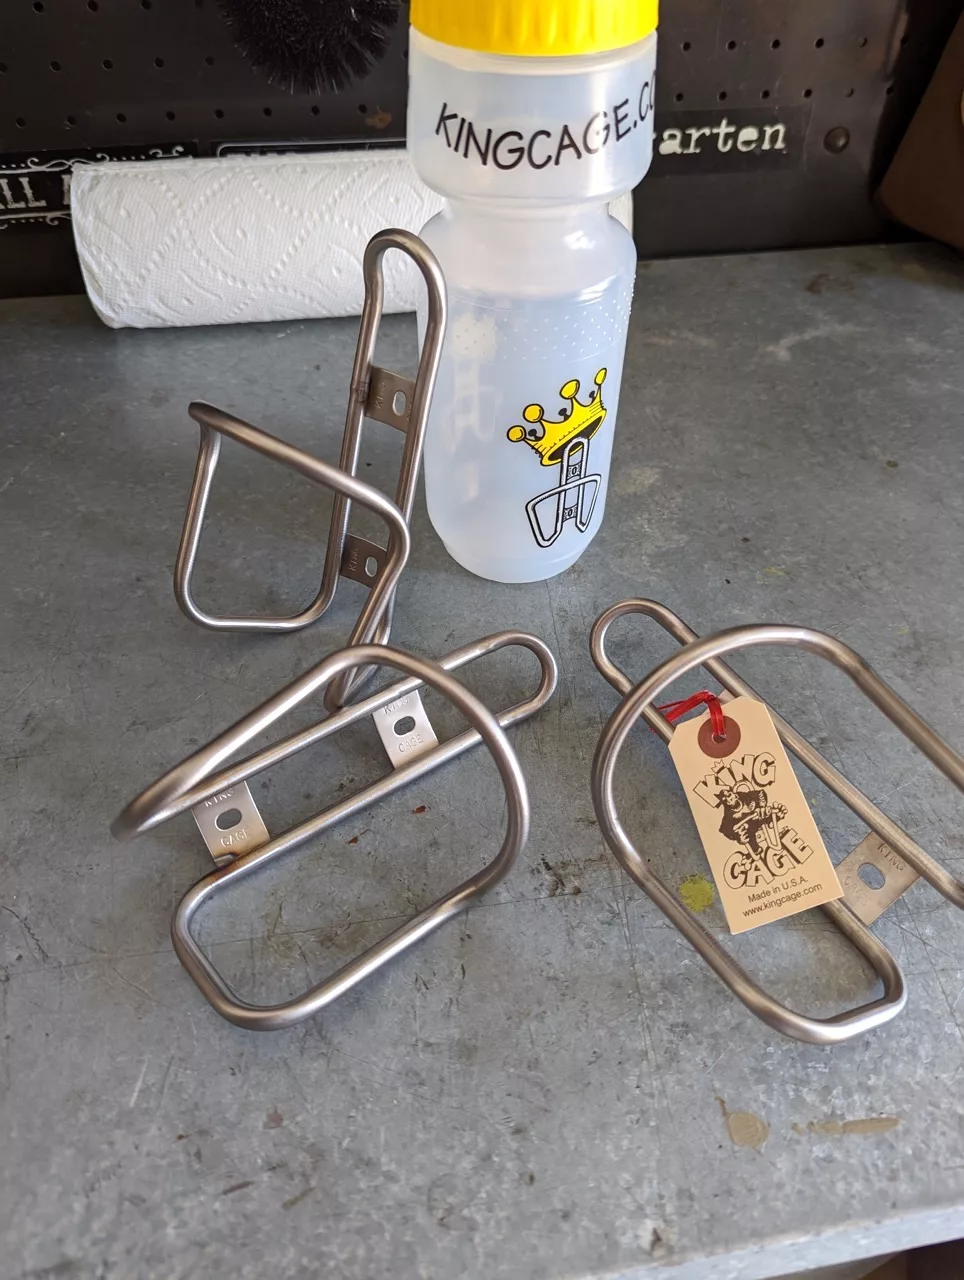
When it came time to pick what cages I wanted to use, I chose the King Cage Titanium Cages. I requested three cages, as I will be using two mounted in the front triangle and one mounted under the down tube. These are hand-bent and welded in Durango, Colorado by Ron Anderson in his basement shop, with USA-sourced titanium tubing. They weigh in at a scant 25 grams each.
The Saddle
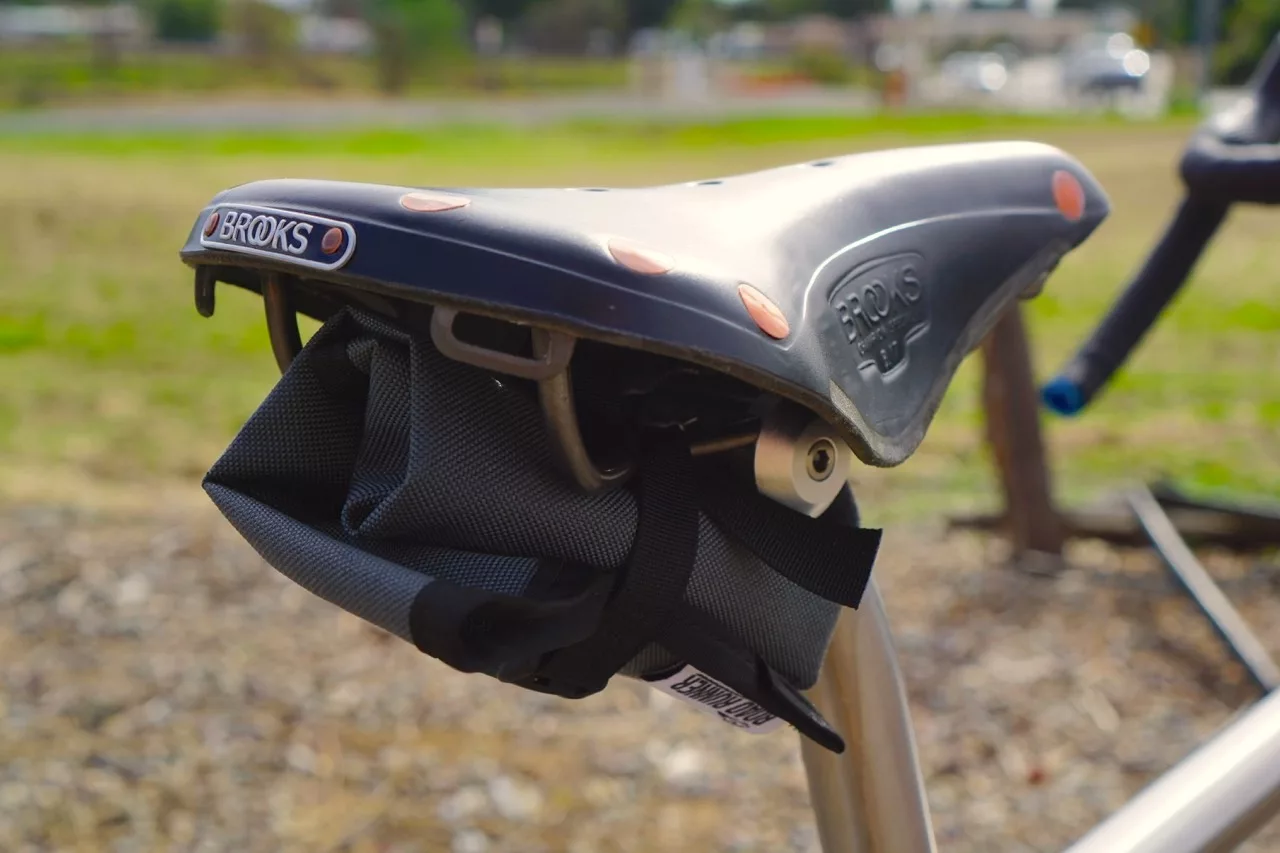
The Brooks B17 has been in production since 1866. It’s the only saddle I use… on all of my bikes. The B17 Special has the same leather construction as the regular B17, but comes with hand-hammered copper rivets, a distinctive side stamp, and hand-skived lower flaps. I chose the B17 Special Titanium version which has all of the other features as the B17 Special but comes with titanium rails and frame assembly… perfect for a dream build.
The Detail Bits and Finishing Touches
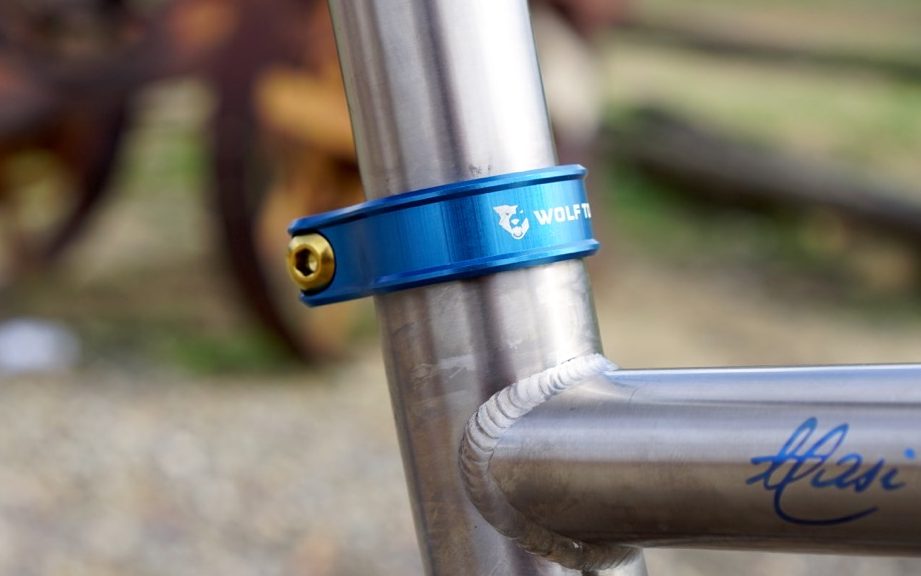
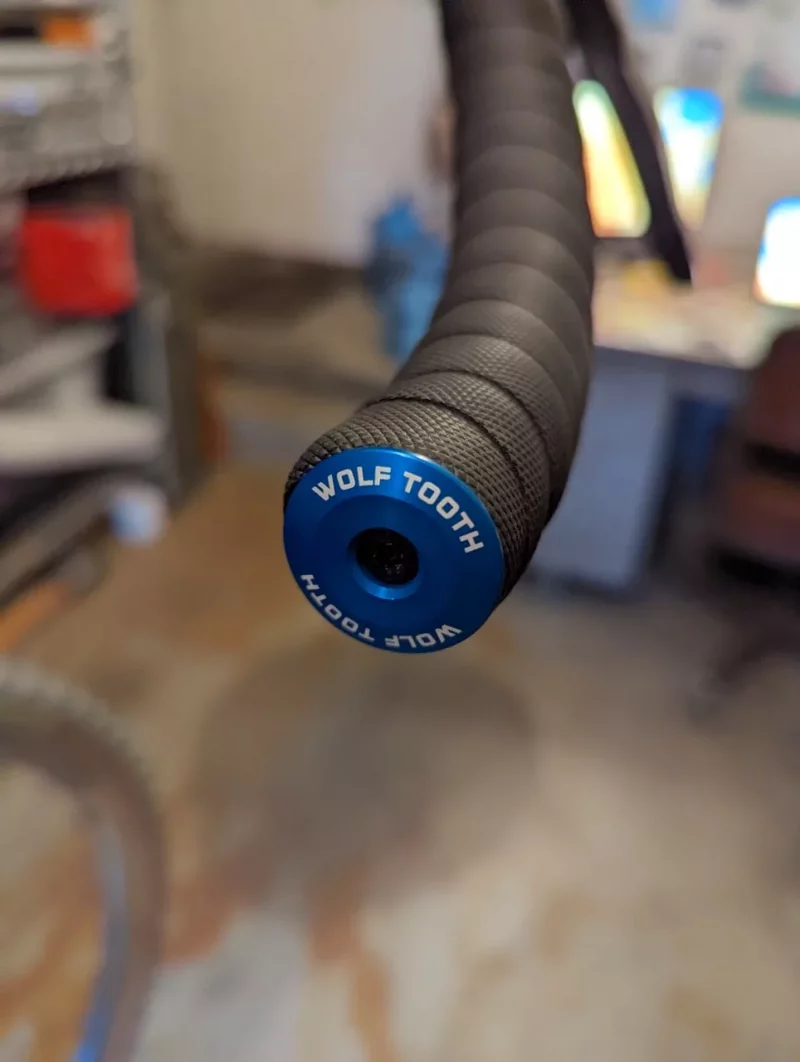
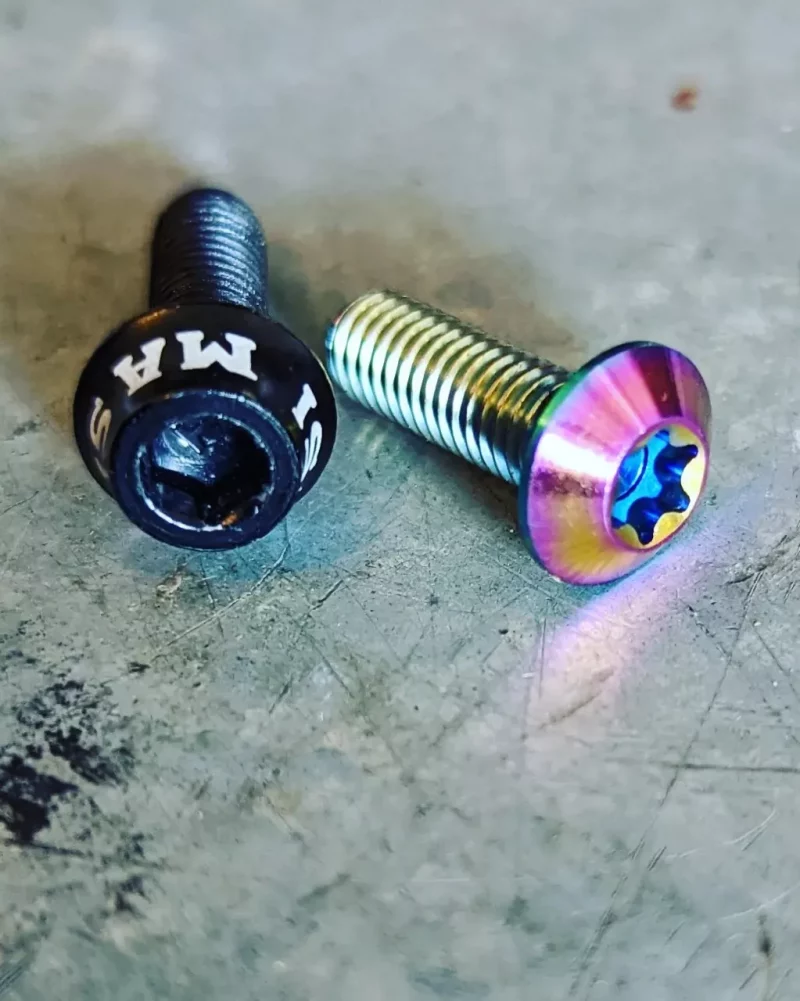
Both Wolf Tooth and Velo Orange, along with their bigger contributions, sent me some great little parts to handle the details and finishing touches of the build. Wolf Tooth sent over their Titanium Bottle Cage Bolts in the oil slick color, Seatpost Clamp in blue, with the upgraded gold Titanium Bolt Upgrade. They also sent their Alloy Bar End Plugs in blue anodized.
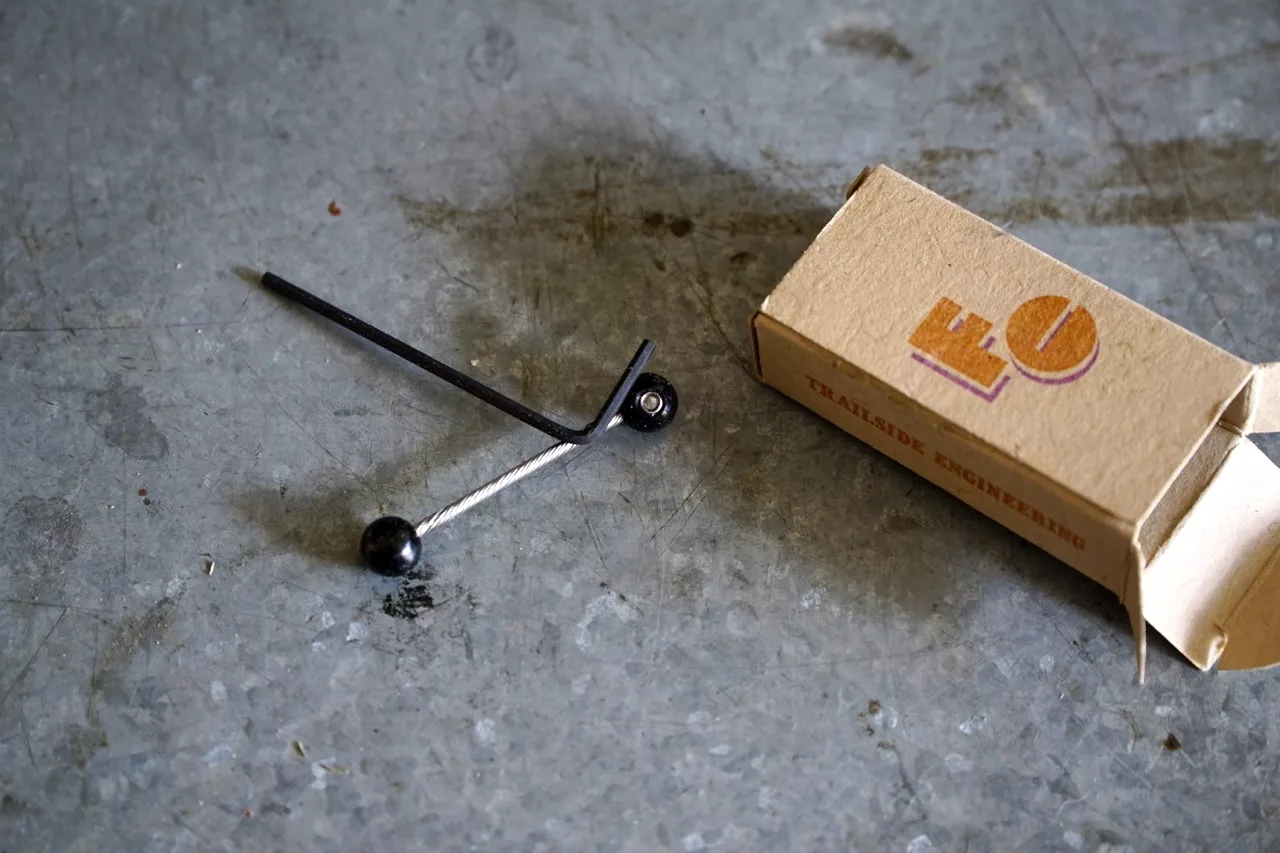
And for the finishing touch, Velo Orange sent me some of the Cable Cherries by Forrager Cycles, some really cool Brass Housing End Caps for both brake housing, and shift housing.
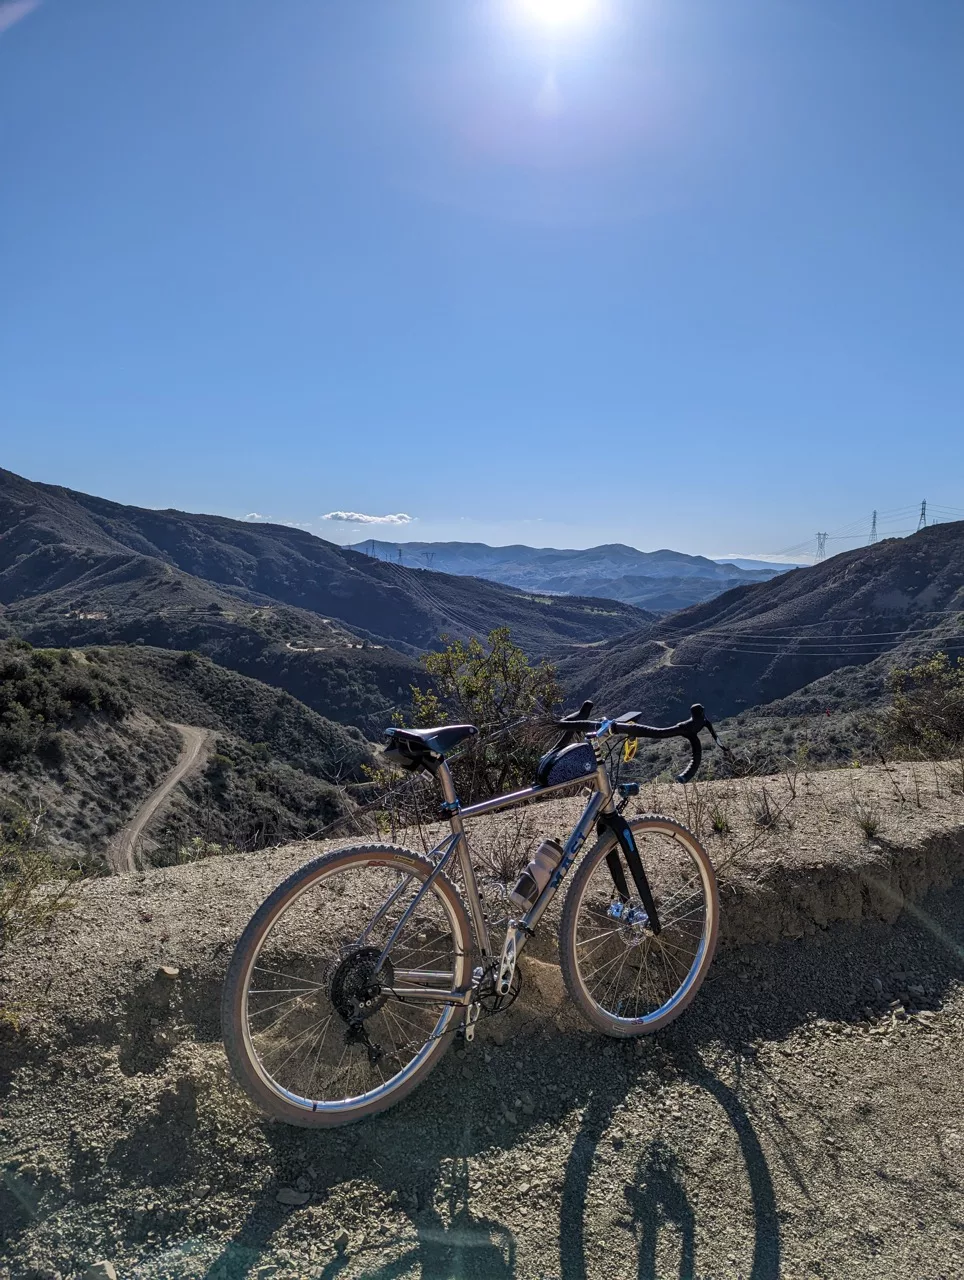
Well, I am stoked that the build is finished, and I’ve achieved all of my goals on this build. Thank you to Masi Bicycles and all of the brands that participated in this build.
Remember it’s OK to ride what you want, how you want. That’s it.
I’ve already started putting some miles on the bike and I am looking forward to getting back here and writing my reviews. Stay tuned!
Disclaimer: Ron is a Brand Ambassador for Masi Bicycles, which provided the frameset for Ron’s Dream Build Project.
