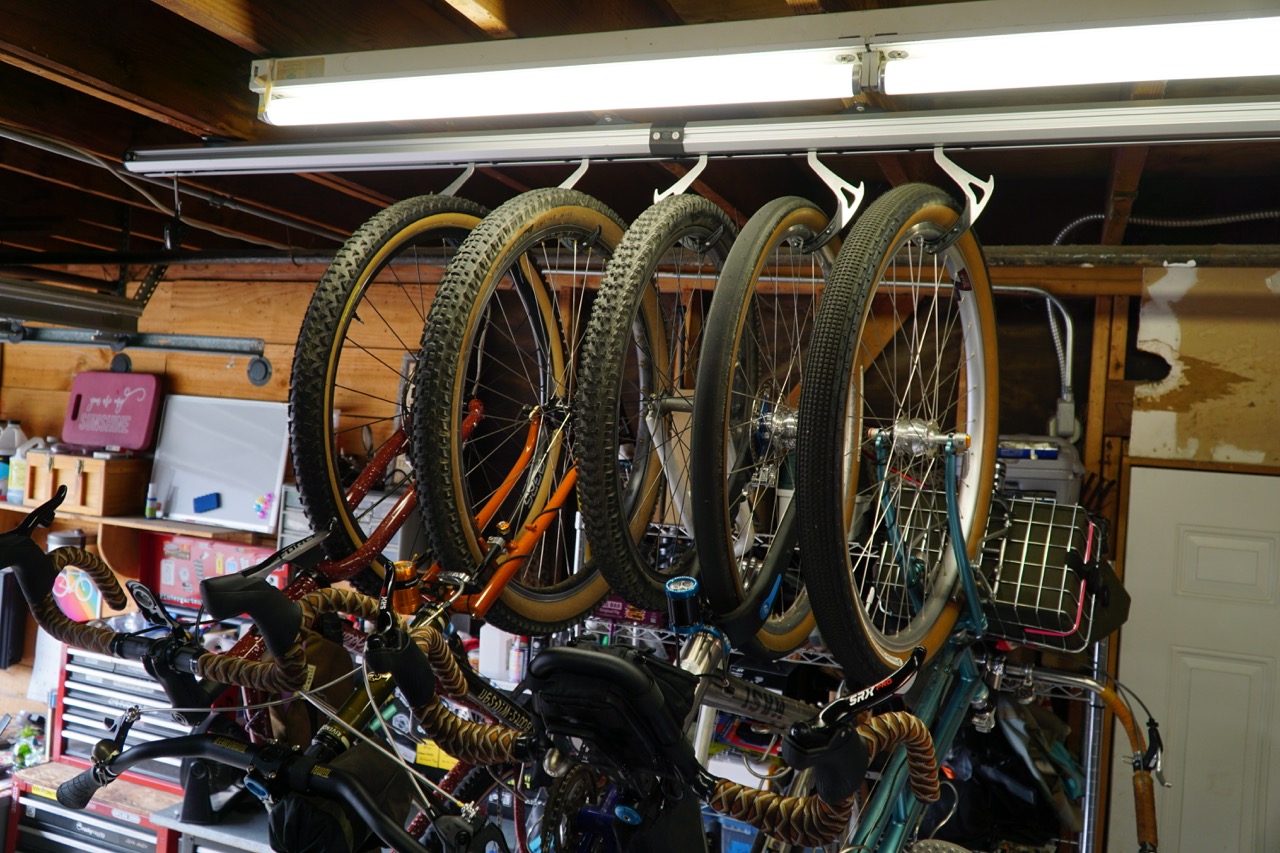
Back in April, I wrote about a really cool bike storage system by Stashed Products that I saw at the Sea Otter Classic. The system is called the SpaceRail Bike Storage System, and it’s a pretty ingenious concept that uses a weighted hook that can slide and rotate allowing the user to alternate the bikes in an ass-to-tea-kettle type of spacing, to get them as close together as possible.
And, look…I don’t know what ass-to-tea-kettle is – it’s something my dad used to say… but, I think you get the gist.
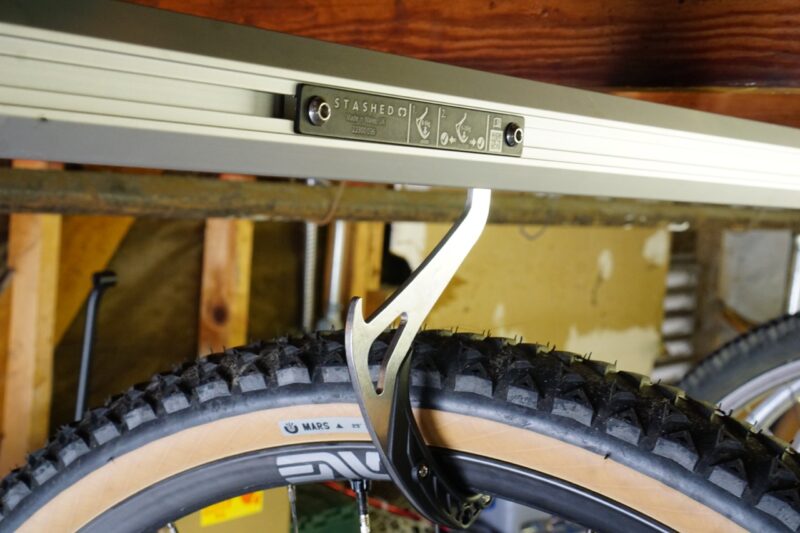
All of the parts that make up the Stashed SpaceRail System are 100% made in the UK, even the custom extrusion for the Space Rail itself. They are expanding into the US and are very proud of their innovative packaging.
They use only cardboard when packaging and shipping their goods which was surprising to me when they told me that they have a 100% success rate on the delivery of the last 1000 systems that were sent “across the pond”.
Stashed sent me two space rails and enough hooks for 6 bikes (4 of my own with 2 hooks left over for review bikes). The package came to me through DHL, and when I opened the box, I noticed there weren’t a lot of small, loose parts to deal with, and that the packaging was efficient, clean, and minimal.
Of course, I had just moved, the garage was a mess, and I was very excited to try out the system if anything just to get the bikes out of the way. Anywho, to my disappointment, I got it all installed without snapping one pic of the clever packaging. Sorry guys.
The SpaceRail System
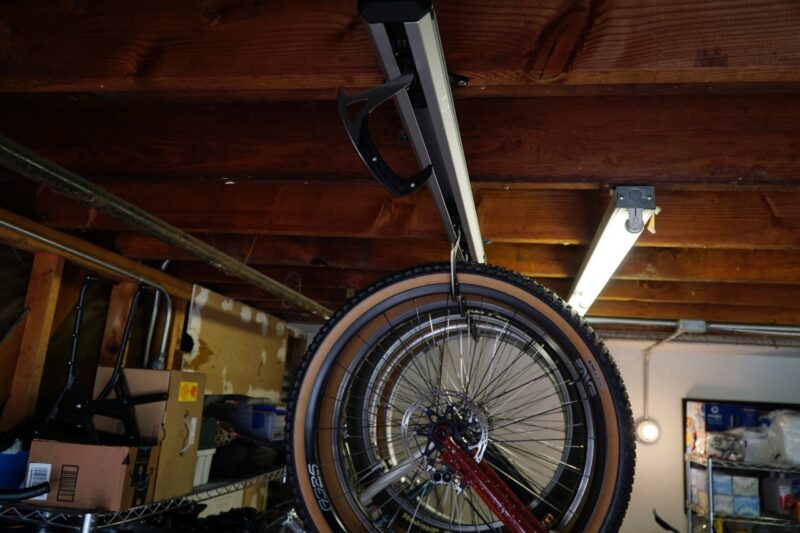
Stashed Products offers three different mounting options for their SpaceRail system with a Ceiling Mount, Angled Mount, and Wall Mount. I was sent the Ceiling Mount. And as I mentioned earlier, it came with enough hooks to hang 6 bikes.
The parts to get the system installed were only a few, with the really small hardware organized in a separate bag.
- 2ea. SpaceRails (one Space Rail can hold up to 4 bikes)
- The bike hooks
- Spacer kits (for between the hooks)
- The specific mounts for the Ceiling application
- Two Space Rail end caps
- One SpaceRail Joining Kit
- All of the necessary small mounting and installation hardware
SpaceRail System Installation
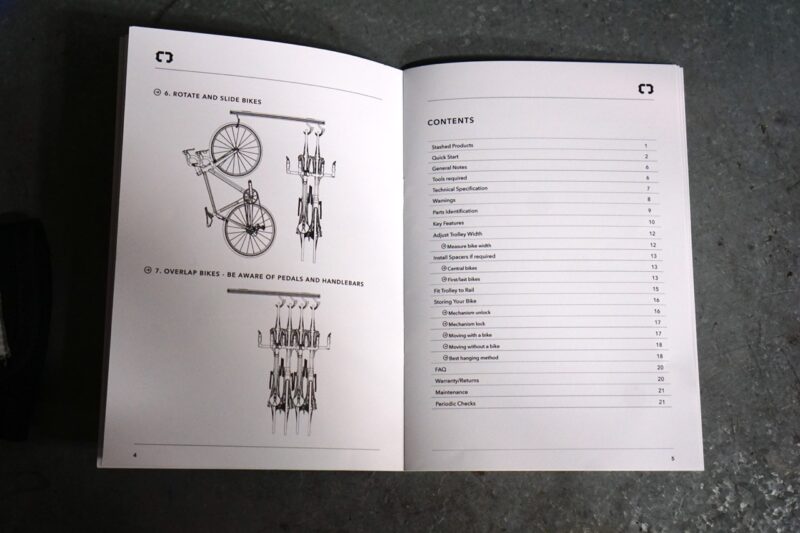
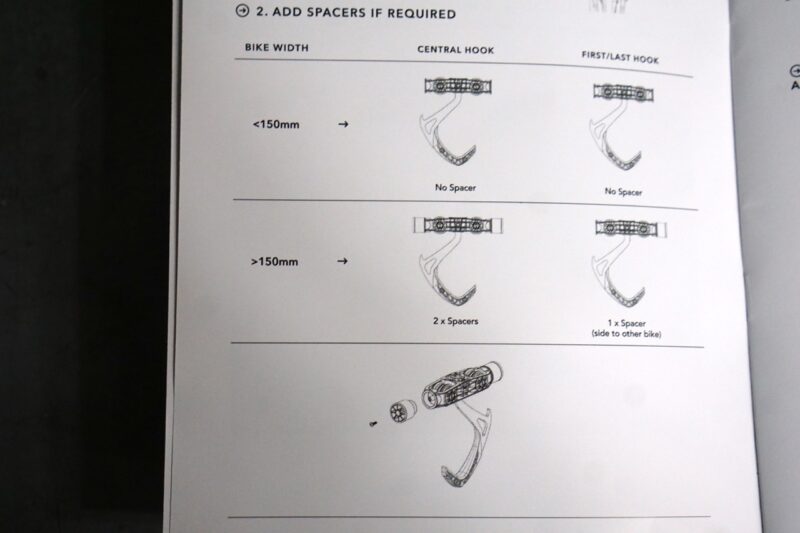
The included instruction booklet… yes, a booklet, was complete and thorough, with really good illustrations. I started by getting all of the pieces laid out and separated.
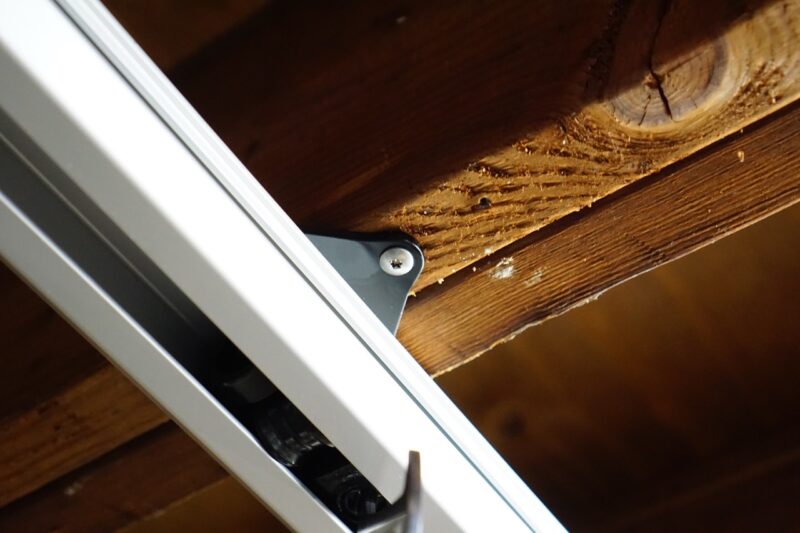
I started by sliding the hardware for the Ceiling Mounts into place to match the distance of the ceiling joists where they will hang. When that was done, I added the rail’s end cap on the far end that wasn’t getting the extension. It was easy to mount the first rail to the ceiling by myself.
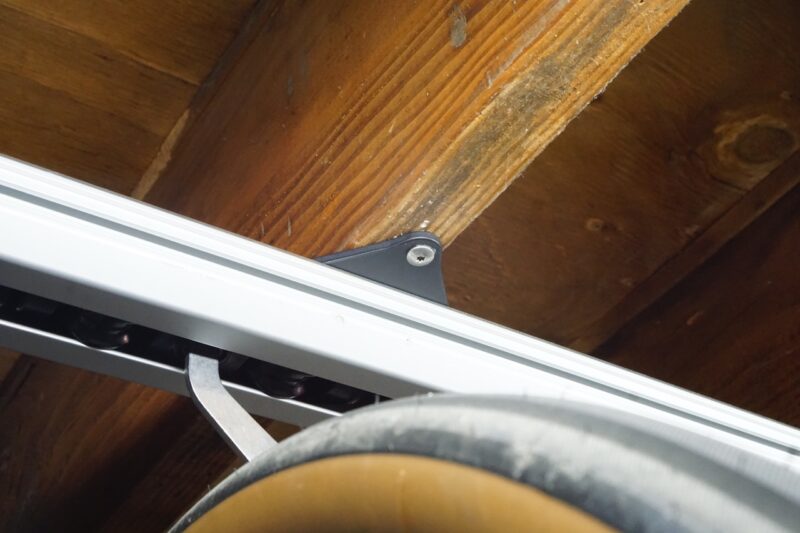
The actual SpaceRails are one-piece aluminum and I found them light enough to hold in place while installing the mounting plates to the ceiling. But, that being said, I’m not sure if that would be the case if you were attempting to screw the long wood screws in with just a handheld screwdriver… if that were the case, you’d need another person to hold the SpaceRail.
I did predrill pilot holes in the joists so that when using a drill to install the included wood screws, they installed quickly and easily without splitting the wood.
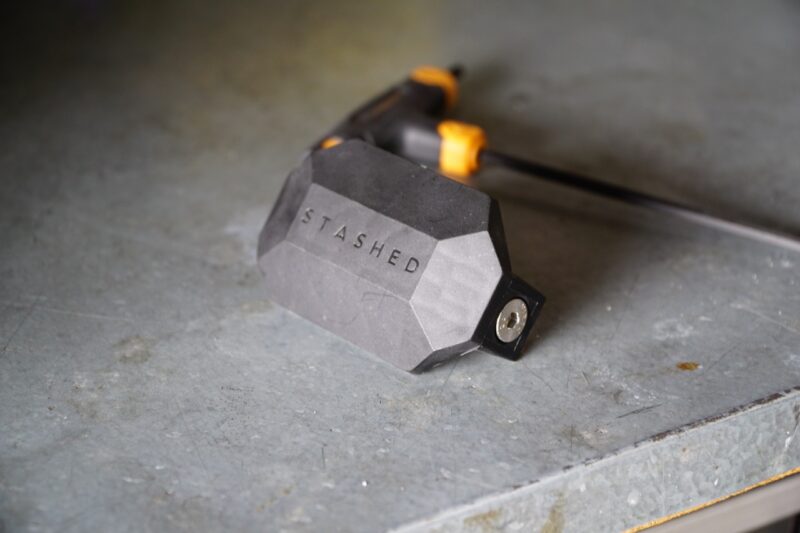
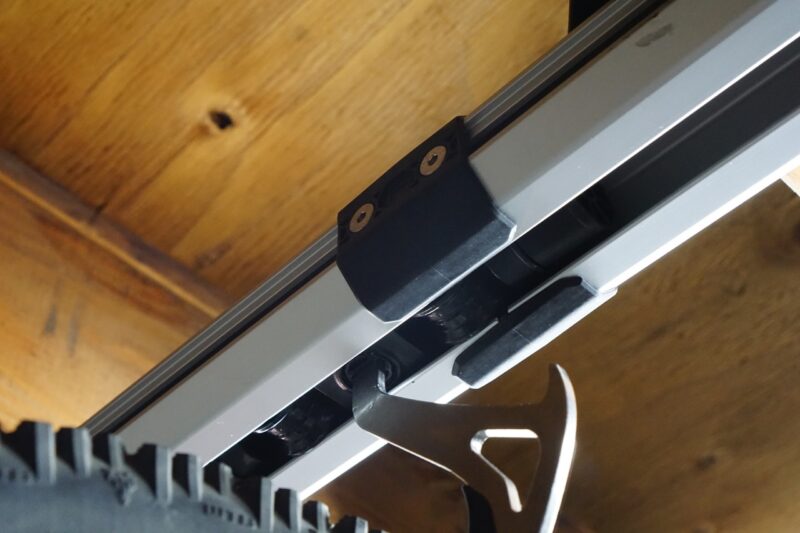
I then added the end cap to one end and the SpaceRail Joining kit to the other end of the installed SpaceRail. After making another joist location measurement, I slid one end of the second SpaceRail into the Joining kit and attached the mounting plates to the joists.
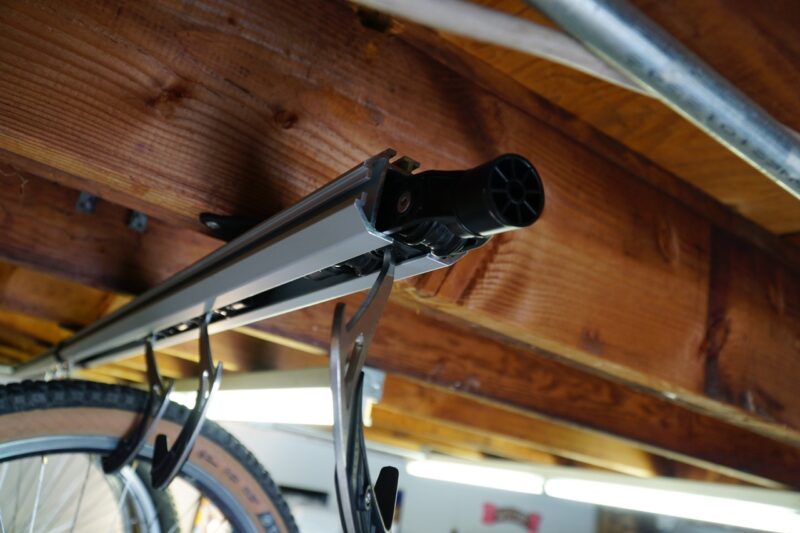
That was it. It took me approximately 30 minutes to get the two SpaceRails installed and ready to accept the six bike hooks. Hooks are easily installed by simply keeping one end free of the end cap and sliding them into the Space Rail. Once they are all slid in, install the end cap and it is ready to store your bikes.
SpaceRail Performance
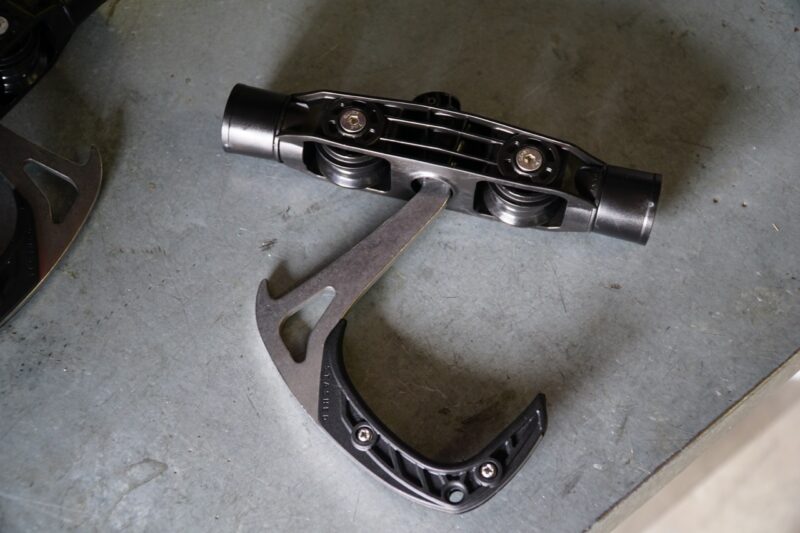
Once I got the SpaceRails installed on my ceiling, and ready to install the bike hooks, I noticed that the instructions stated that I should measure the width of the axel/fork leg width. They said that if that measurement is less than 150mm, I won’t need to install the included spacers…. and if it’s over 150mm to install them.
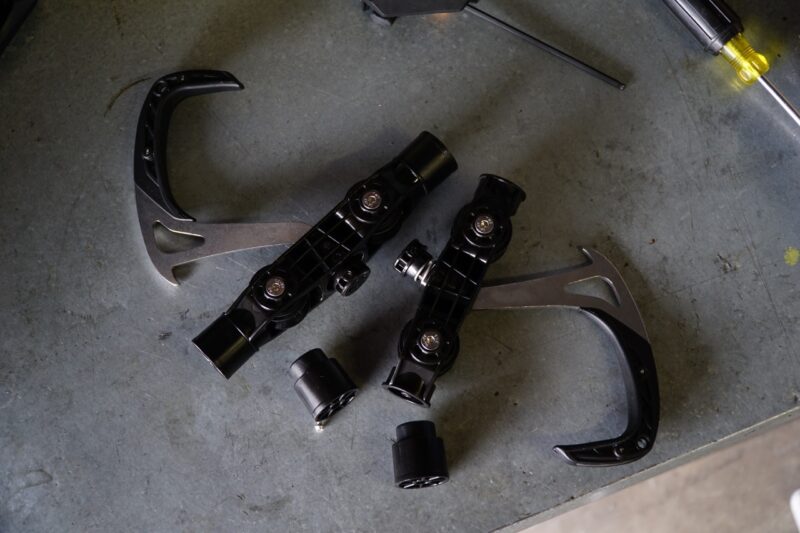
I confess that I didn’t take the measurement… I just assumed I would need the spacers. So, I initially installed them on every other hook, but after a few days of placing and removing the bikes from the hooks, I found that didn’t actually need them.
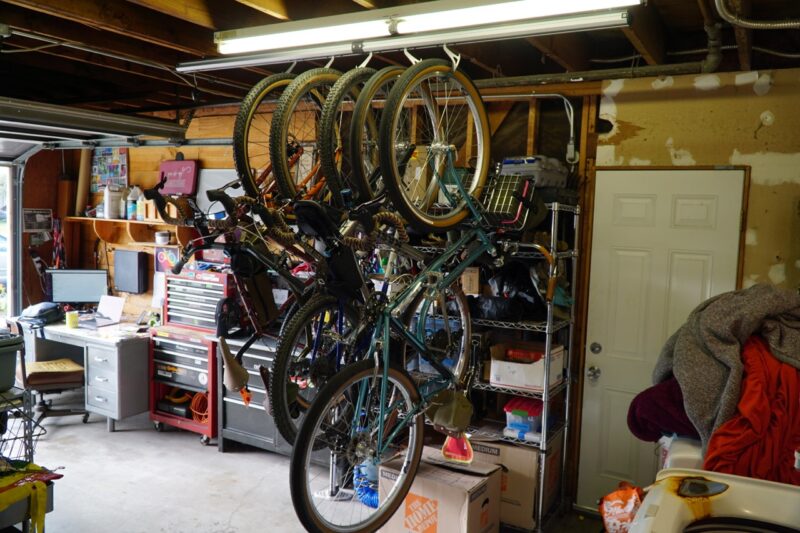
Removing them (obviously) allowed the bikes to squeeze in tighter than they did with the spacers installed. And, having the bikes stored closer to each other is something that I felt I needed in my tight little area of the garage.
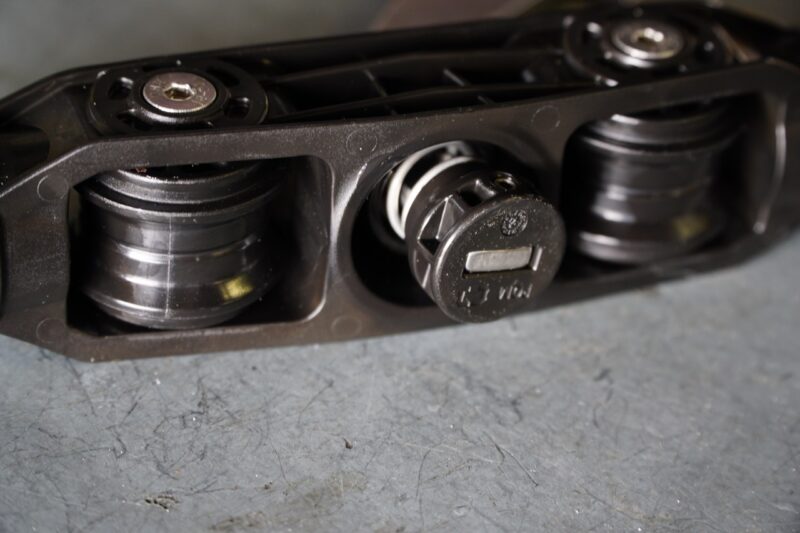
The hooks are, more or less, “locked” in place when there is no weight on them. This allows for the hook to stay stationary while lifting your bike onto the hook… keeping the hook from being bumped and sliding down the rail away from where you need it.
Once loaded down with the weight of the bicycle, the hooks “free up” to slide and rotate freely in the SpaceRail with very little resistance.
Stash Products Pedal Wraps
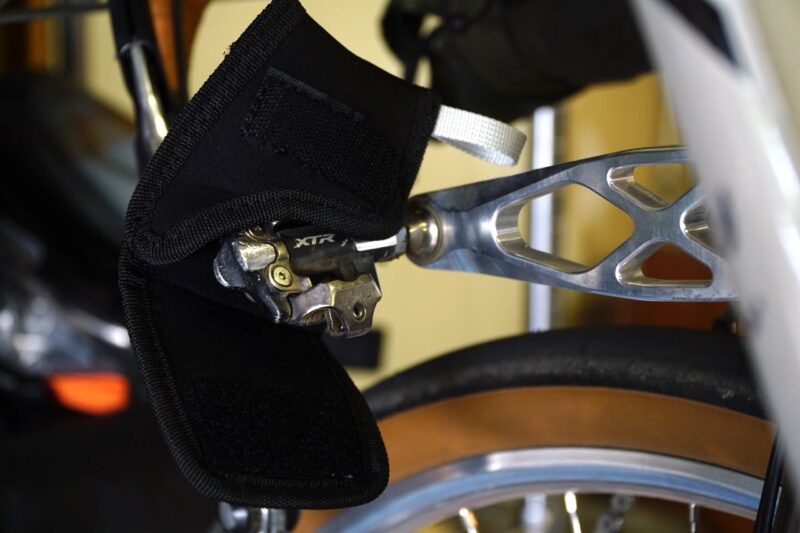
Believe it or not, one of my favorite items during my review of the SpaceRail System is the cool Pedal Wraps. These are handy little neoprene and Velcro wraps that conveniently wrap your pedals to keep them from damaging the neighboring bike upon sliding them together.
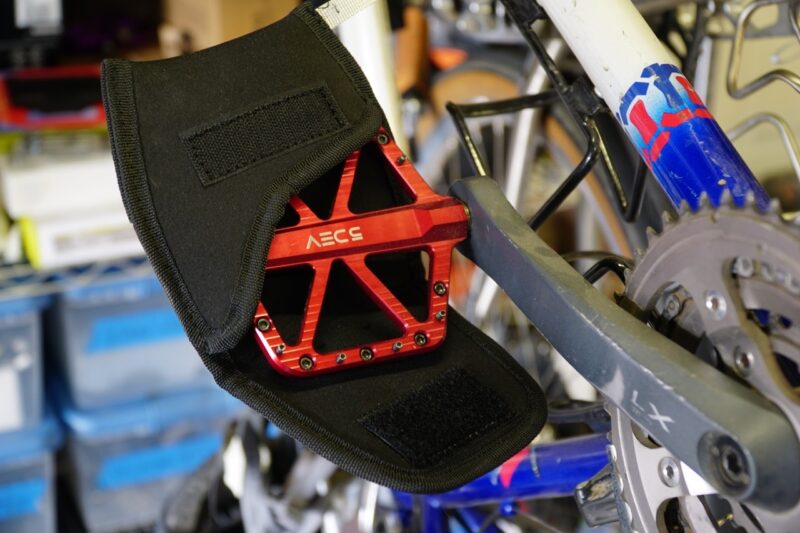
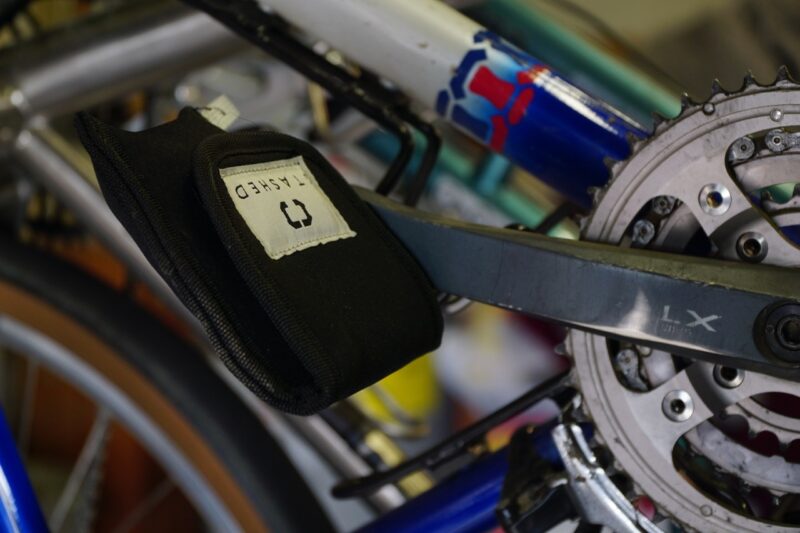
Stashed sent me a pair of large, medium and small. They are easy to install and remove from the pedals. I used the large size for my wife’s large DEV5 flat pedals…
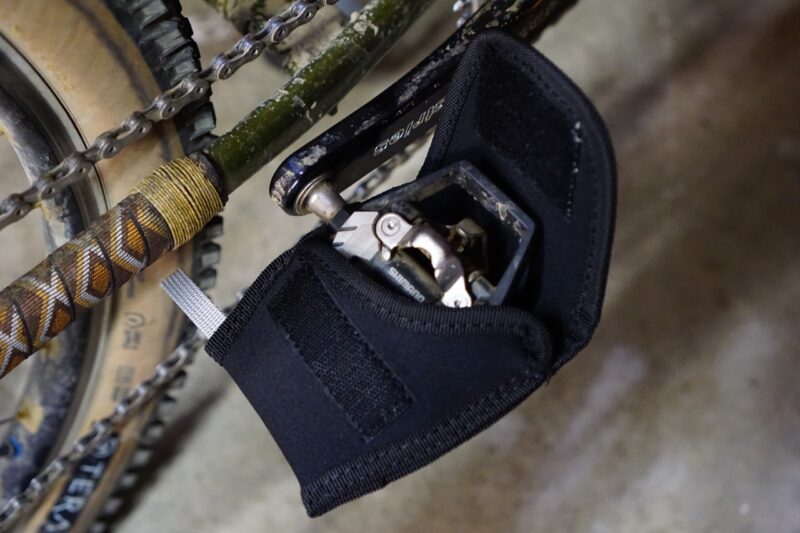
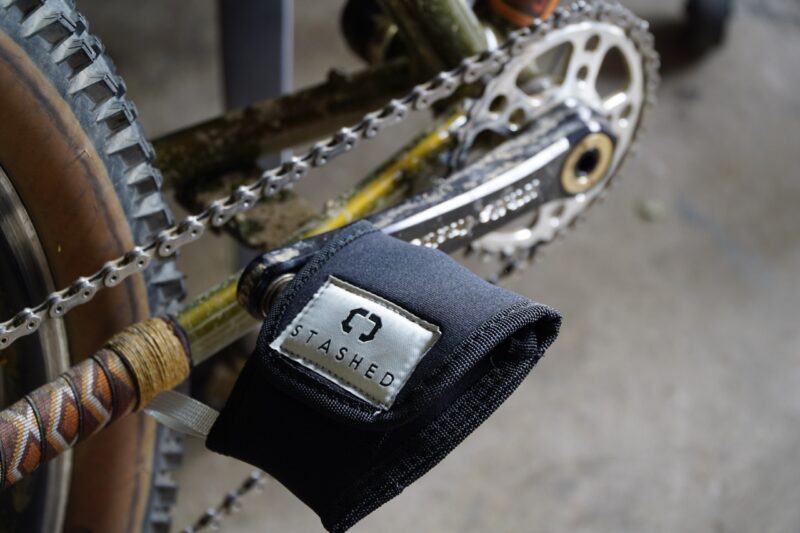
…and the medium for my Shimano XT Trail pedals, and the small size for my Shimano XTR pedals. A very simple solution that works very well.
There are also little “outboard” hooks on the outside of the bike hooks that allow you to hang your helmet, wet jacket, gloves, or whatever you think of.
SpaceRail Storage System Features & Pricing
Features
- Free UK shipping over £50. Free European shipping over €350. T&C apply.
- Universal hooks to store every type of bike, including e-bikes
- Saves up to 50% space, with easy bike access
- Simple to install using just four screws & basic DIY skills
- A single SpaceRail (1200mm / 4ft) can hold 120kg (30kg / 65lbs per hook) *good for most eBikes*
- Easy Load system with Auto Lock Tech
Pricing
One 4′ section of SpaceRail can hold up to 4 bikes. You can add additional SpaceRail Bike Hooks to your one-bike system for an additional $83ea. This allows you to use just what you need, adding hooks as your quiver grows.
If you were to grow past 4 bikes, you would just need to buy the SpaceRail Extension Kit for an additional $128, allowing for up to an additional 4 bikes. See some examples below.
1ea. SpaceRail kit for one bike (includes rail, 1-hook, and mounting hardware): $204
1ea. SpaceRail kit for four bikes (includes rail, 4-hooks, and mounting hardware): $382
Pricing is set where you can store as many as 24 bikes for $2099
*Price as tested (includes 2-rails, 6-hooks, 1-SpaceRail Joining kit, and mounting hardware): $598
All Stashed Products carry a 2-Year unlimited warranty.
In Conclusion
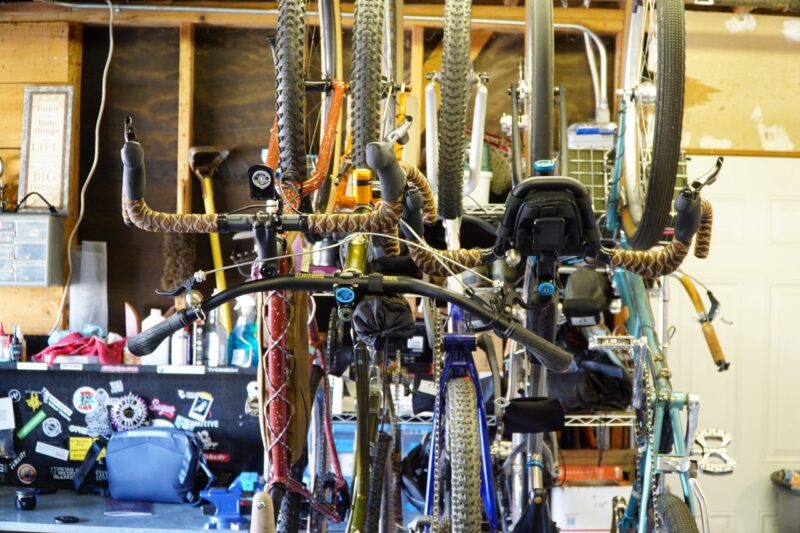
Stashed Products’ ingenious system is easy to use, and won’t damage your beloved bicycles as you get them up and out of the way. I love that you can swivel the bikes to stagger them and get them really close. I’ve got 5 bikes stored that only span 4’7″ wide… that’s impressive and an overall pretty small footprint considering one bike has the 810mm wide Tumbleweed Persuader Bar and another bike’s got the Redshift Sports 50cm Kitchen Sink Bar.
I found the system a snap to install and even easier to use on a daily basis as it’s a breeze to slide the bikes apart, pick your steed and pull it down for a ride. The quality of all of the parts seems top notch and I have zero reason to believe that they won’t last a good long time.
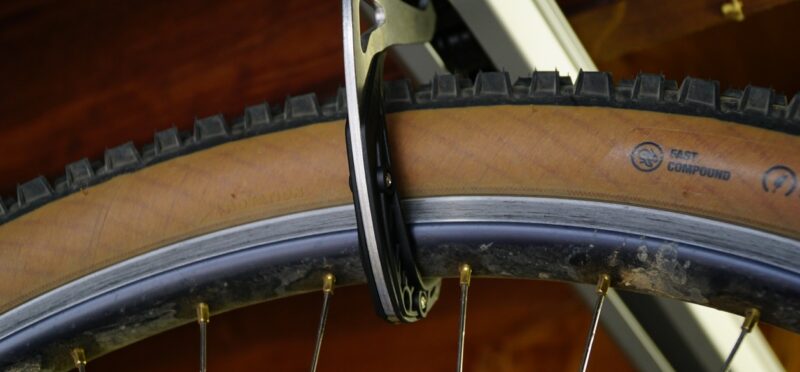
The hooks have a replaceable protective polymer cover that doesn’t seem to be marring my rims. Also, the hook trolleys are rebuildable, which is refreshing.
I wouldn’t just recommend this system for anybody that is space challenged when it comes to storing their steeds, I would recommend it to anybody in need of bike storage solutions, as it is a well-thought-out, safe way to store your bicycles.
Check ’em out at the link below.
